MrMikes PT Cruiser
Leather Install Instructions

 Back to MrMikes PT Leather HOME

 Click here to see the DOORS Instructions  

 Click here to see the WELTS Instructions

   1. Front Seats: The biggest surprise is that you DO NOT remove the front seats from the car.
                   You will remove the cushion pans from the frames, but the front seats stay in the car.
                       (Of course you can unbolt the front seats if you wish, but it's not necessary).

    In a nutshell you will:
  A. Remove the arms & headrests, remove the cushion pans, and peel off the backrest upholstery.
   B. Install the new backrest leather in the car, install the cushion and headrest leather out of the car.
    C. Re-install the  arms, headrests, and cushion pans.

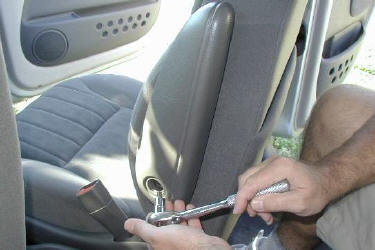
Remove the arms by pulling out the cap and remove the bolt with a Torx 45 bit.

Remove the screws holding on the seat track covers.

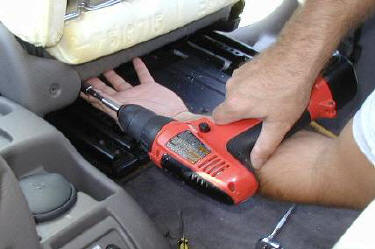
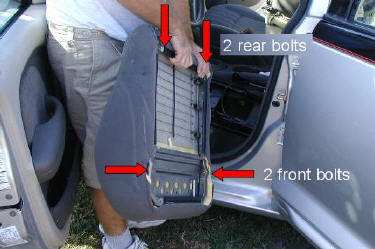
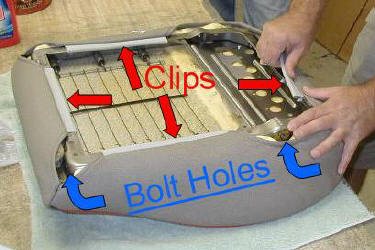
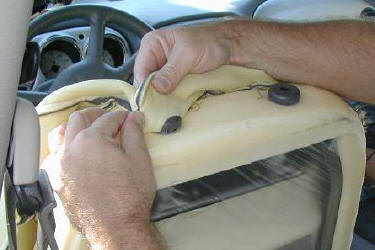
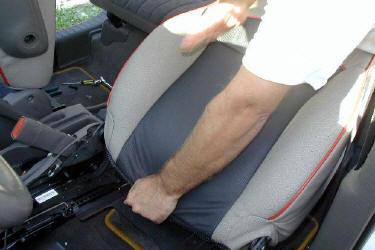
Remove the 4 bolts holding the cushion pan.

These are 10 mm bolts.

There are 2 in the front going in from the sides,
and 2 in the rear pointing frontward.

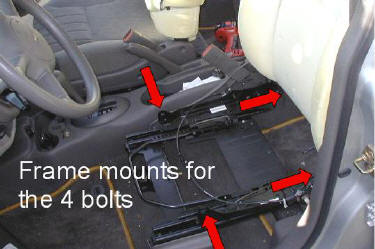
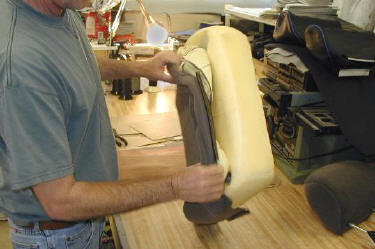
Remove the cushion pan.


 Click here to see:
 Seat-Cable runs through cushion pan.

The 4 bolts hold the pan to the frame.

Power adjuster seats are the same,
the motors and levers stay in the car,
just remove the pan.

Remove the old upholstery:

Un-do the plastic clips from the bottom,
pull off the old upholstery,
and remove the old hog-rings.
 

Install the new leather:
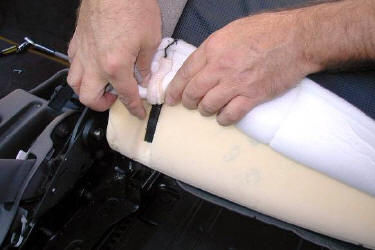
Position the new leather upholstery,
hog-ring on in the original manner.

(Hog-Ring Pliers and Hog-Rings
are supplied in the kit)

Glue on the "Bolster Booster" foam pads.
(included with the kit)
While not required, These
add support to the seat sides
and give the seat a deeper look.
(NOT used on GT seats kit)

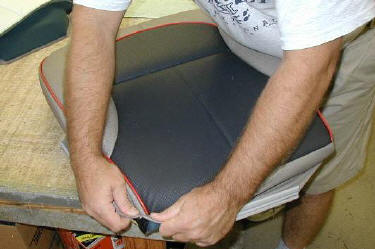
Roll the 4 corners on.

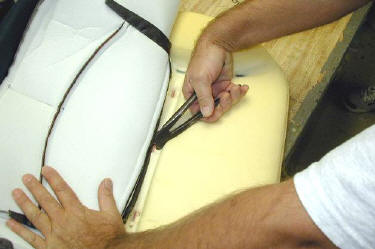
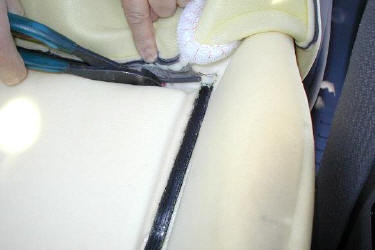
Clip the new leather to the frame
in the original manner.

Notice how the new leather is shaped
to leave the bolt holes exposed.


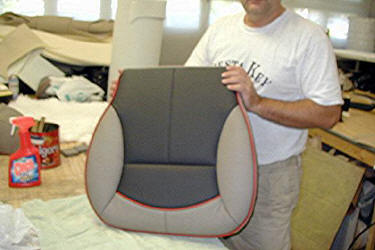
The new leather is on and ready to go.
But wait...
You will want to install the
backrest leather first.

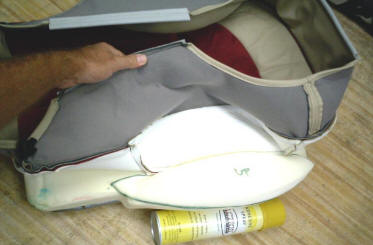
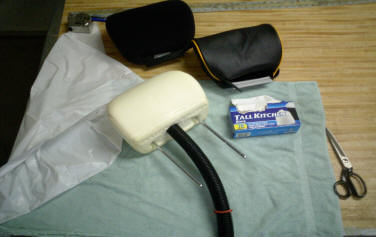
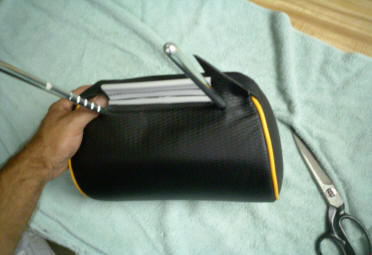
While we are inside let's install
the headrest leather:

Open the plastic clip on the bottom
and peel off the old upholstery.

A vice is handy to hold the
headrest for you.
 

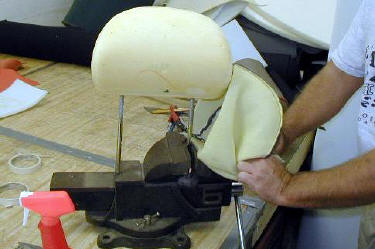
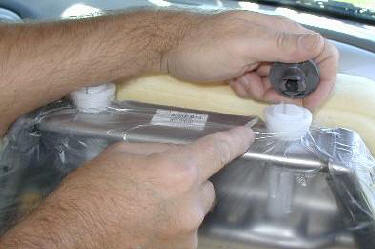
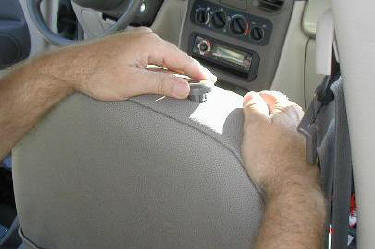
Cut a slit in the foam at the bottom.


Stuff a vacuum cleaner hose into the foam.


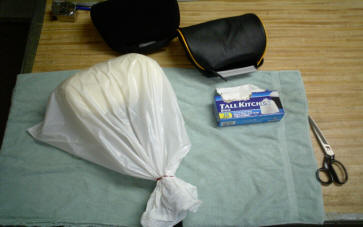
Tie off the plastic bag (included)
with a rubber band.

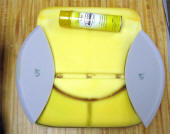
Turn on the vacuum cleaner.
-
The vacuum will squish down the foam.
-
Help it by pushing down on the foam.

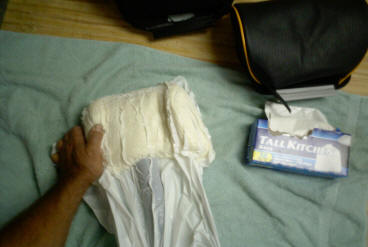
When the foam is small
slide on the new leather.


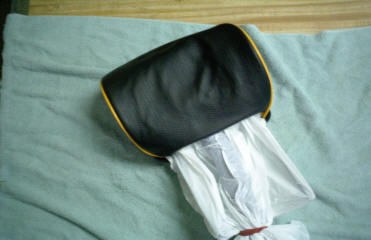
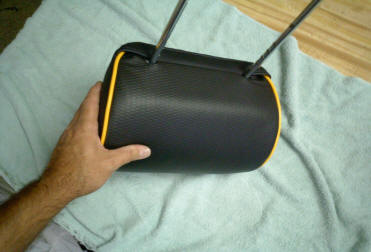
Turn off the vacuum.
-
Cut away the excess plastic bag.
-
Align and tuck in the flaps.
-
Place the clips between the metal bars.

Snap the clips closed.
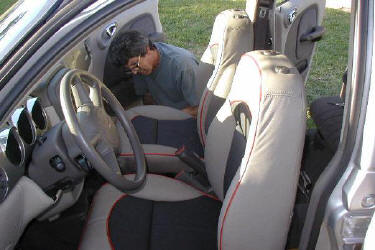
 Click here to see more about
 Installing Headrest TVs

Back in the car:

To remove the old backrest upholstery:

Some models have a clip at the bottom,
just open it.
Others have plastic "trays" on the back,
un-screw the trays and release the clips.

Pull off the old upholstery, it is held on with Velcro.

 Click here more about
 seats with AIRBAGS

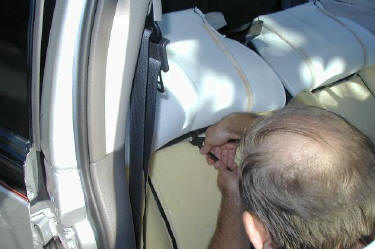
Half way up it is hog-ringed to the foam,
remove these 3 old hog-rings.
-

Twist with side cutter pliers (included).

Pull up the old upholstery
and slip it over the headrest clips.

Pop off the headrest clips.


Slip on the new leather,

slide it down half way.
-
Hog-ring it on in the original manner.

(Hog-Ring Pliers and Hog-Rings
 are supplied in the kit)
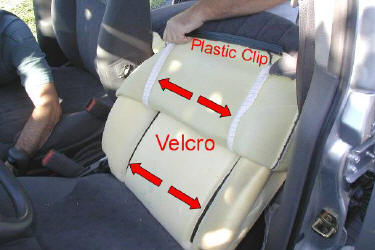
Roll the new leather down.

Put the Velcro in the right place.
Stretch the leather down,

and "Karate Chop" the Velcro so it sticks.
Replace the headrest clips.
Bolt the cushion pan back onto the frame.
Snap in the headrests,

bolt on the armrests,

replace the side track covers.

Wipe with a damp towel.

The Rear Seat is similar.

Click here to see REAR SEAT Instructions


Questions or Comments?
Email MrMike

 Click here to see the DOORS Instructions

 Click here to see the WELTS Instructions

 Click here to see the HEADREST TV Instructions


 Click here to see the AIRBAG Instructions

 Back to MrMikes PT Leather HOME

(c) 2006  mrmikes.com