MrMikes PT Cruiser
Leather Install Instructions

 Back to MrMikes PT Leather HOME

Click here to see the FRONT SEAT Instructions

 Click here to see the WELTS Instructions

  3. Doors: The PT door panel is an assemblage of parts heat melted together,
                    (this is so it's faster to assemble at the factory).
                   To install the leather insert it is necessary to 'free' the armrest and insert part.

 In a nutshell you will:
  A. Remove the door panel from the car.
   B. Free the armrest and insert part.
    C. Wrap the insert with leather, and re-Install the door panel.

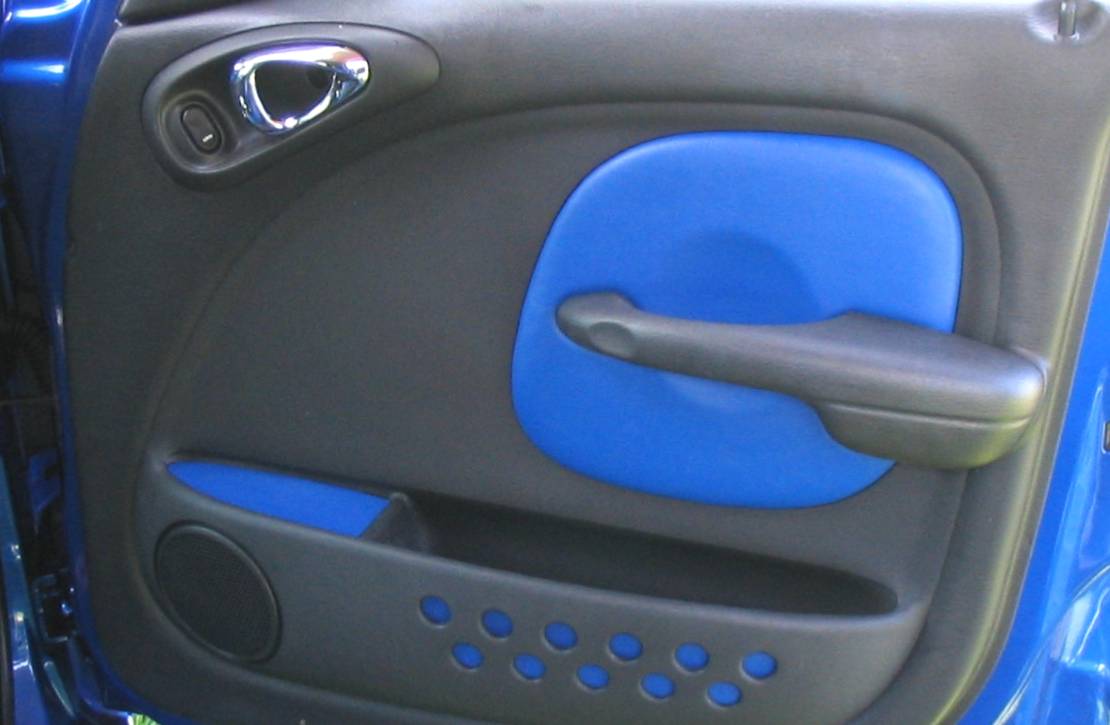
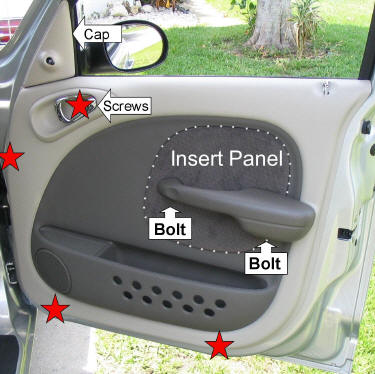
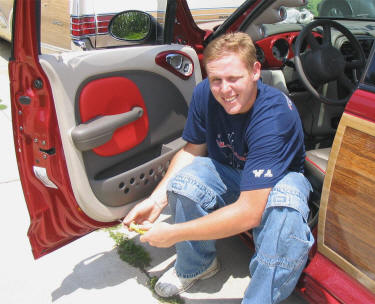
To remove door panel from car:

1. ROLL THE WINDOWS DOWN.

2. Pop off the mirror caps, pull straight off, they have metal clips on the back. Leave the cable attached. (On the rear doors pull off the caps in the same manner)

3. Remove the screws from around the edge and behind the opener latch. (The rear door has a screw under the cap)

4. Remove the 2 bolts from the armrest.

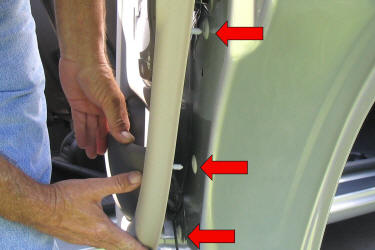
Pop the door panel clips around the edge.

A towel wrapped putty knife or flat blade screwdriver will keep the paint from getting scratched.

Lift the door panel up & out
 of the track at the top by the glass.

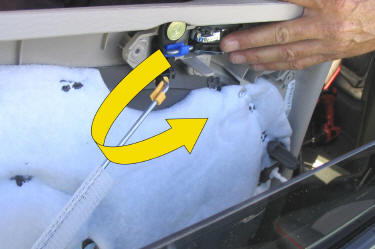
Un-clip and swivel the rod holder forward,
leave the clip in the latch,
pull out the rod.

Un-plug the power lock wire from the latch
(if so equipped).


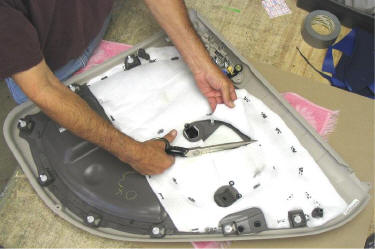
Bring the door panel indoors.

Place the door panel face down on a towel
or blanket so you don't scratch it.

You will "knock the heads off" of the
5 melted studs holding the armrest.


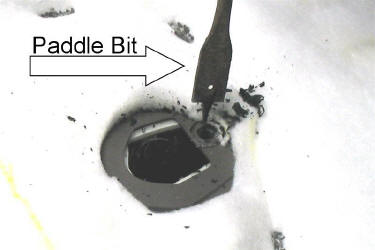
Use a 5/8 inch paddle bit in a drill or screw-gun.
( Bit is included in the MrMikes Leather Kit )

DO  NOT  PRESS  HARD

Drill down only an 1/8th inch,
just enough to "knock the head off".

Do not drill through the door panel itself.


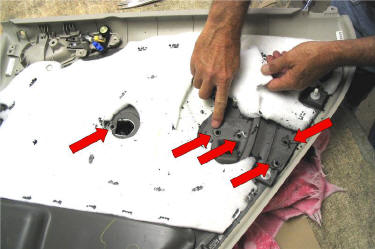
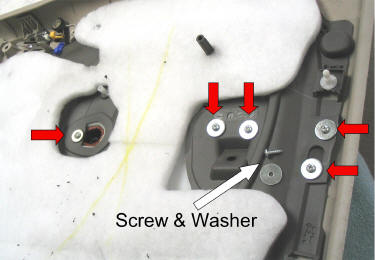
Continue on with the other 4 points.

It is helpful to pull away the white sound pad,
(it gets caught in the spinning drill bit)

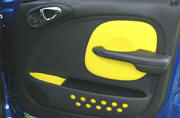
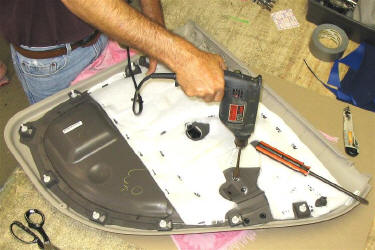
With the panel face up
twist and pull off the armrest.


Turn the panel over.

Cut an "X" in the sound pad.


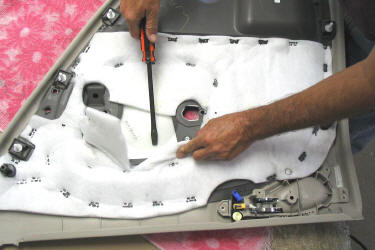
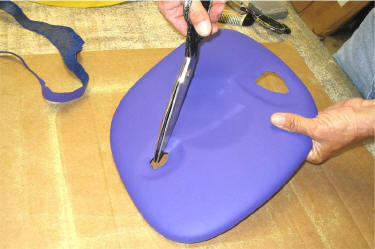
Slide a wide flat blade screwdriver
between the door panel and the insert piece.

Twist the screwdriver at the melted points
to 'free' the insert.

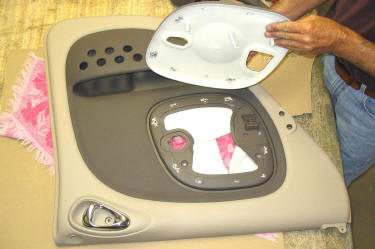
Lift off the insert.

Now the installation of the leather:

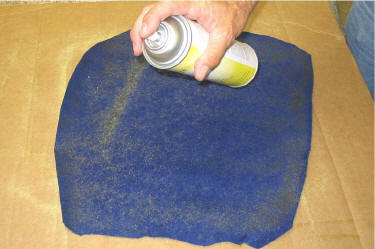
Spray glue the back of the leather part.
( Spray glue included in MrMikes Leather Kit )

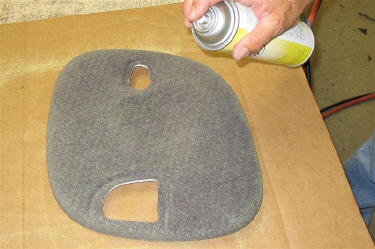
Spray glue the face of the insert piece.

Do not remove the original cloth,
it is smooth-
firmly attached-
and adds a nice touch of padding.

Let the glue dry a bit.
You know how contact cement works right?

-

Stick the leather to the insert piece.
Start in the center, pressing the leather
down into the depression.
Press in the depressions for the armrest too.


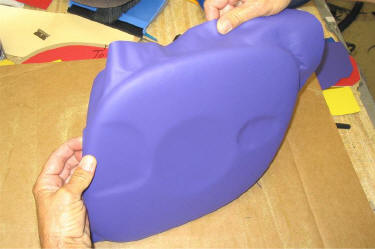
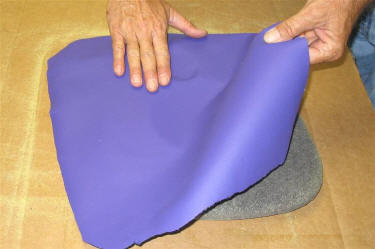
Once the face is on;
 Pull the leather over the sides.
The insert piece is 3 dimensional and
does have "sides".

Stretch the leather around these "sides" to avoid wrinkles,
fortunately there are no sharp corners.
 

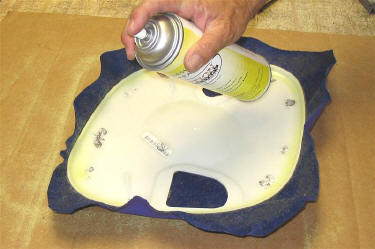
Spray glue the back of the insert piece
and the leather part.

Glue just around the edge,
in about one inch.


Trim the leather 1/2 inch from the edge.
This will give you a nice wrinkle free fit.

You want to keep the leather off of the
flat / back surface of the insert piece,
any leather back there will keep
the insert piece from fitting flush to the door panel.


Cut out the holes for the armrest bolts.


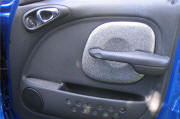
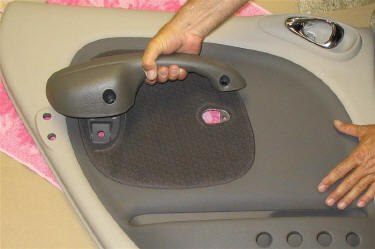
Put the insert and the armrest back on the door.

Attach the armrest with #10 X 3/4 inch
sheet metal screws and washers
(included with the MrMikes kit)

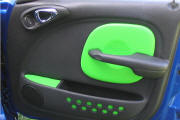
Re-Install the door panel.

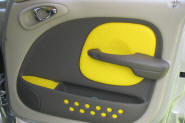
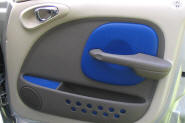
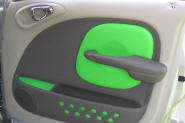
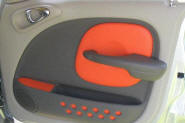
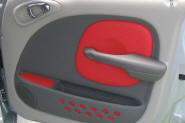
Many leather colors available, to match or contrast with the seats.


Questions or Comments?
Email MrMike
 

 Click here to see the WELTS Instructions

 Click here to see the FRONT SEAT Instructions

 Back to MrMikes PT Leather HOME

(c) 2006  mrmikes.com