|
MrMikes |
|
|
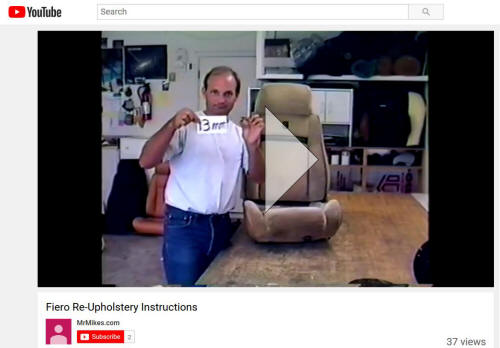
Watch the MrMikes Fiero Re-Upholstery
Instructions on YouTube. <- Click the picture |
|
|
|
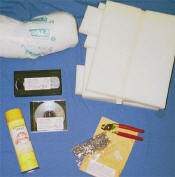
MrMikes upholstery kit
includes: |
|
MrMikes |
|
|
Watch the MrMikes Fiero Re-Upholstery
Instructions on YouTube. <- Click the picture |
|
|
|
MrMikes upholstery kit
includes: |
|
|
|
|
|
|
| Hello
Mr. Mike, Beautiful! I installed your leather seats in my '87 Fiero GT over the Thanksgiving weekend and couldn't be happier. The quality of the leather and craftsmanship of the covers is superb. The instructions were great. Anyone could install these covers by following the video instructions. Also you give a complete kit including all the tools, padding, glue, etc., which was great. My compliments again. Mike T. Grand Rapids, Michigan |
|
All Seat-Kits include: |
|
|
Video Instructions |
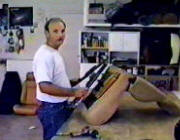
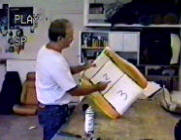
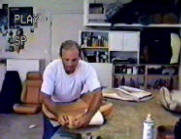
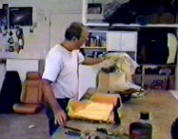
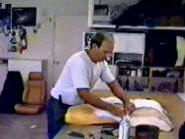
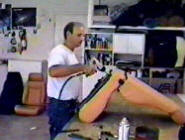
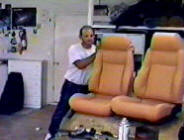
Here are some snapshots from the Fiero video instructions: |
|
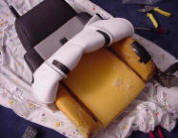
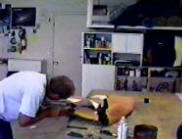
1. Remove the tracks: |
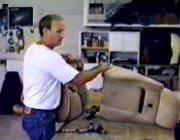
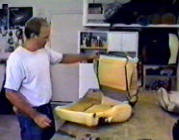
2. Separate the two parts: | 3. Remove old bottom upholstery: | 4. Glue on new foam pads (incl.): |
|
|
|
|
|
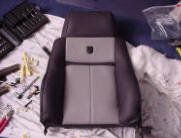
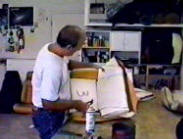
5. Clip on new upholstery: |
6. Insert listing rods: | 7. Roll cover over front edge: | 8. Roll cover over rear edge: |
|
|
|
|
|
|
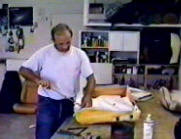
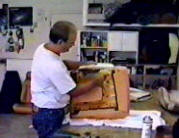
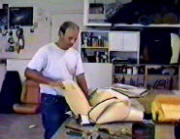
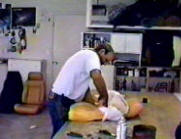
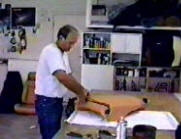
9. Clip tabs to frame: |
10. Cut out holes for bolts: | 11. Halfway Done! | 12.Remove old backrest upholstery: |
|
|
|
|
|
|
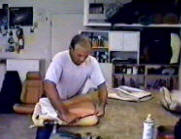
13. Cut out original foam pads: |
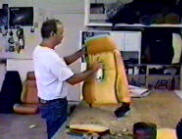
14. Spray glue: | 15. Stick on foam pads: | 16. Slip cover over headrest & clip: |
|
|
|
|
|
|
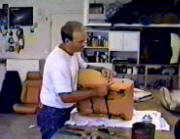
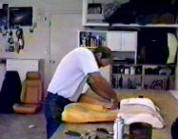
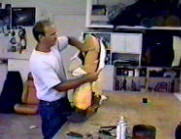
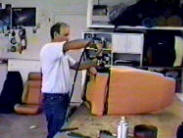
17. Stuff cotton in shoulders: |
18. Roll down & clip: | 19. Roll cover all the way down... | 20. and PULL: |
|
|
|
|
|
|
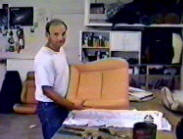
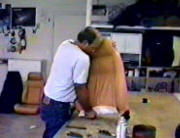
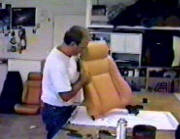
21. Insert listing rods: |
22. Fasten closed: | 23. Almost Done! | 24. Bolt pieces back together: |
|
|
|
|
|
|
25. Replace tracks: |
That was Fun, Do it Again:) |
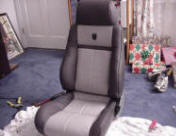
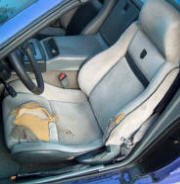
Before: |
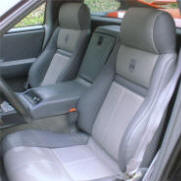
After: |
|
|
|
|
|
|
|
Instructions and
supplies are included to repair damage to the seat core |
|
|
|
|
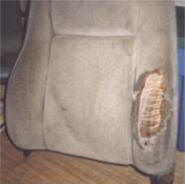
|
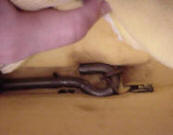
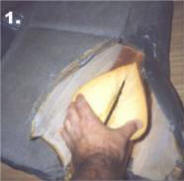
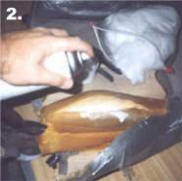
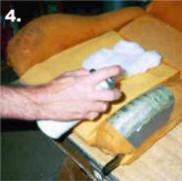
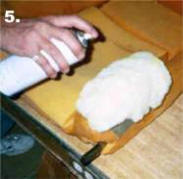
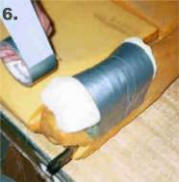
| 1. Bolster damage is most common by the driver's door, often the damage is not visible. Years of wear will cause the inner bar to eat at the foam from inside. Slit foam with a razor blade (included) to expose the metal bar. | 2. Pack cotton around the metal bar and fill any voids in the foam. Spray glue (included) into the cut, onto the cotton (included), and the foam. Pull foam up and around the bar to encase it. | 3. Cover the cut with duct tape. Spray glue the foam first, this will make the duct tape stick on well. The tape will hold the cut closed. | 4. You're not done yet! Spray the repaired area with more glue. |
|
|
|
|
|
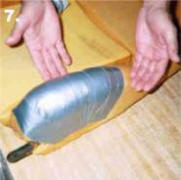
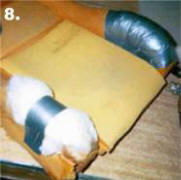
| 5. Place a piece of cotton onto the wet glue, the glue will help hold it in place. Spray glue over the cotton and down onto the foam. | 6. Cover this second layer of cotton with duct tape. Compress the cotton with the duct tape as you go. The second layer of tape should be longer and firmly stuck to the foam. | 7.That's it! When properly padded it should be impossible to feel the metal bar when pressing your thumb on the area. |
8. Press the foam in other
areas of the seat, backrest and cushion... If you feel metal pad the areas until they look like picture #7. |
Questions?
Email
MrMike
Back
(c) mrmikes.com