This is a continuous plastic product used to fill in gaps,
trim around door panels, sunroof openings, etc.
Glue is not necessary,
the welt just stuffs into the cracks,
we call this a “friction fit”.
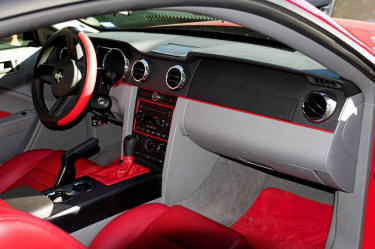
Here Red TrimBright welt
was applied
to a Mustang dashboard.
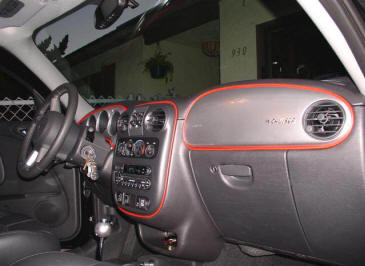
Here Red TrimBright welt was applied
to a PT Cruiser headliner & visors.
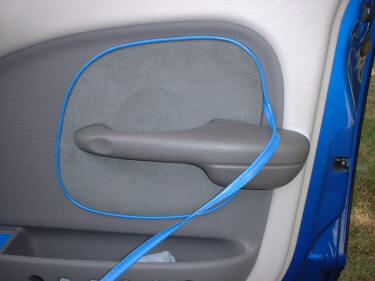
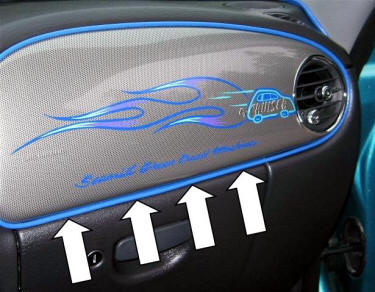
Here Electric Blue TrimBright welt
is being applied
to a PT Cruiser door insert.
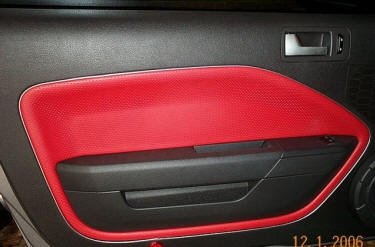
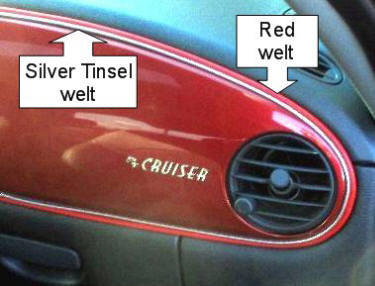
Here Silver-Tinsel TrimBright welt
was applied to a Mustang door insert.
Here Orange TrimBright welt was applied
to a PT Cruiser dashboard.
Use your imagination to find
places to accent.
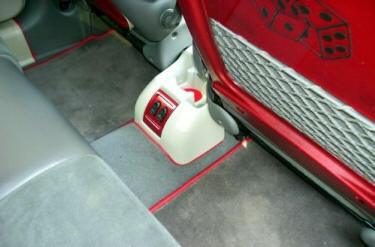
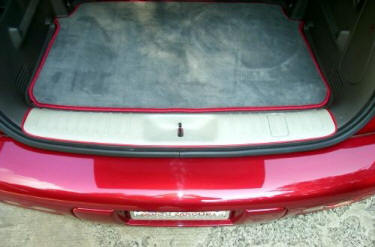
Console edges trimmed in Red
to match floor mats shown here.
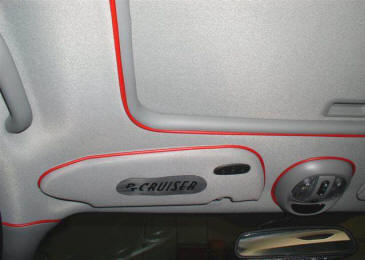
Here a sill plate was painted Sliver
and trimmed with Red welt.
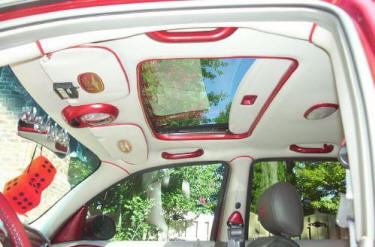
Here Red TrimBright welt was used
in combination with painted headliner accessories.
Two different color welts can be
combined for a 2-Tone effect.
Double sided tape (included) will hold the two properly positioned.
Red & Silver Tinsel shown here.
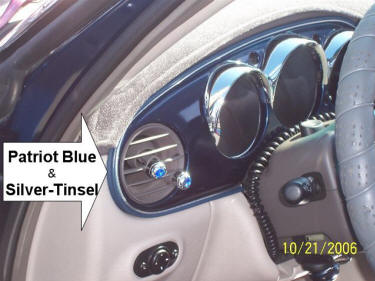
Patriot Blue & Silver Tinsel shown here.
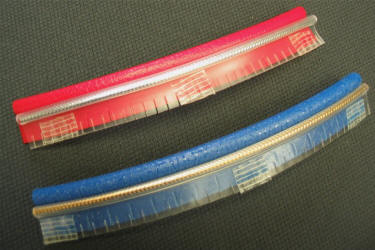
Shown here:
Red with Silver-Tinsel & Electric Blue with Gold-Tinsel.
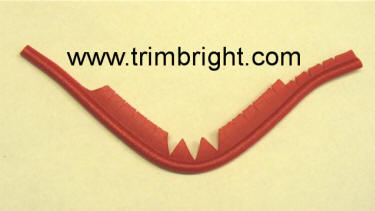
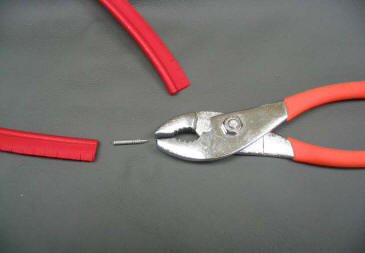
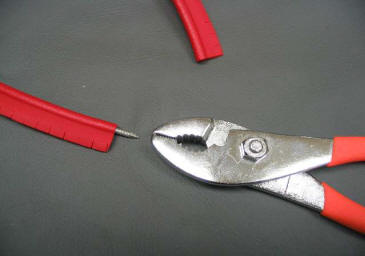
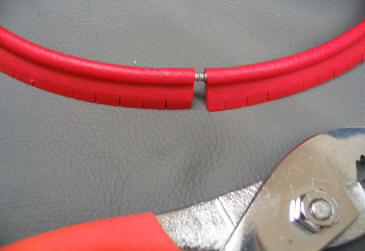
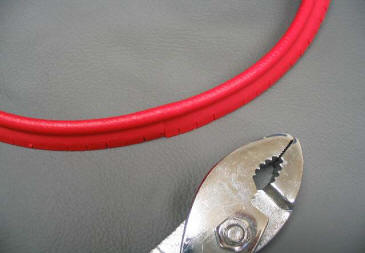
Simply cut with scissors.
When installing the welt it may be
necessary to trim the 'tail' in some areas,
especially for tight corners.
Shown here are various types of trimming of the tail.