|
***Make sure you have the driver upholstery for the driver side
etc.
Which side is written on the tail of the parts.
a) Bottoms: Remove the old upholstery and install the new as
Mazda did.
The bottom parts are very simple.
b) Backs:
Remove the old upholstery and install the new as Mazda did.
However the backs are more complex,
Follow this procedure:
1. The speakers are taken care of / the plastic speaker face is
glued on /
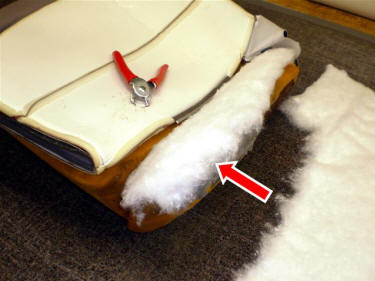
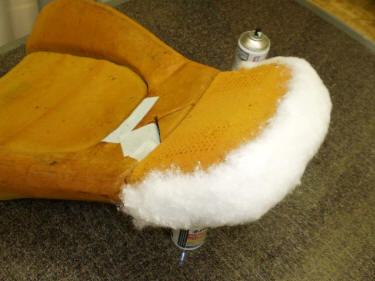
and a crown of cotton padding is placed across the top of the
headrest
(as shown in the above instructions).
2. The upholstery (as shipped) has the headrest ‘right-side
out’, but everything else is ‘inside-out’.
Slide the headrest upholstery over the headrest, roll the sides
of the upholstery down
just far enough (there is a side seam there) so the headrest
listing strip
(it has the 3 holes) fits into the “groove”.
3. Yes: It’s tight in there. Press the foam down with one hand
as you clip the 3 hog-rings in with the other hand.
4. Once the 3 are in; continue rolling the upholstery all the
way down to the bottom.
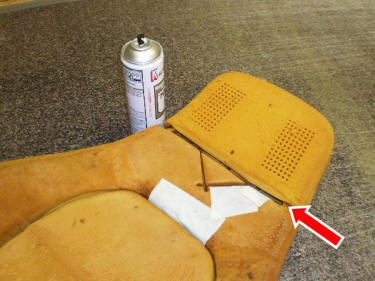
5. Pull the Back of the seat DOWN.
Notice that it has an attachment strip under the flap.
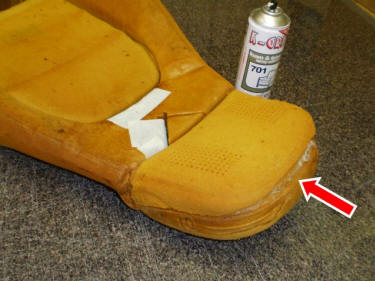
6. Pull the side bolsters DOWN / under the bottom / and back up
the back.
Hog-ring the attachment strips of the bolsters to the attachment
strip under the flap.
Keep these bolster tabs way out by the edges, you will hog-ring
the center insert in-between them later.
---
7. Now that the bolsters are pulled down and attached under the
back flap;
Now is when you pull the sides of the bolsters in and
hog-ring them down.
They have strips under flaps too; this will all be hidden once
the center is done.
8. Lift the center section; Now is when you hog-ring the top of
the horseshoe.
There are 5 hog-rings. Because the bolsters are now attached,
the top of the horseshoe will find its correct position
naturally.
9. Replace the center insert foam piece;
hog ring the flaps of the center insert behind the foam as Mazda
did.
10. Pull the center insert DOWN, under the bottom, and back up
the back.
Hog-ring the attachment strip of the center insert
to the attachment strip under the Back flap. |