|
Miata
Install |
|
 |
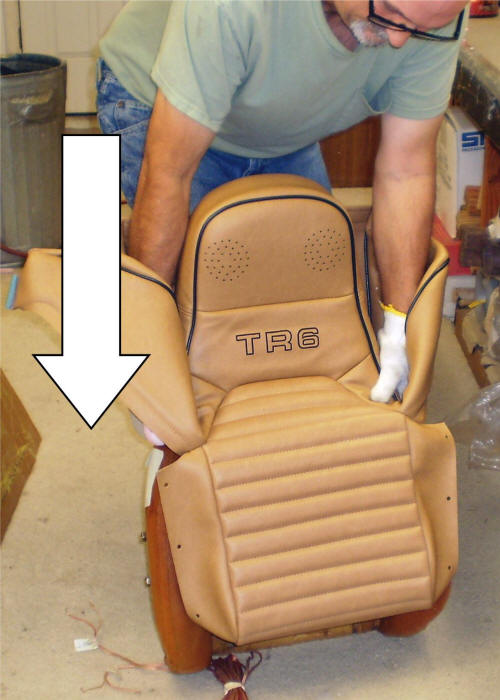
*Make
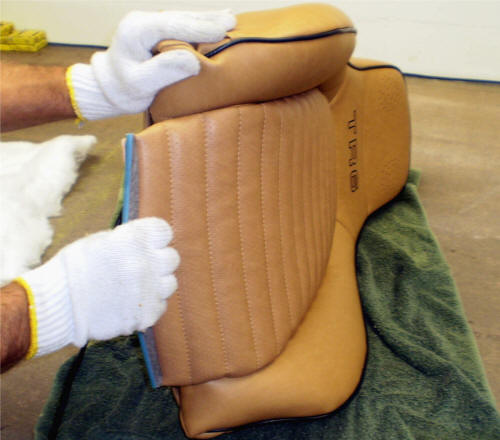
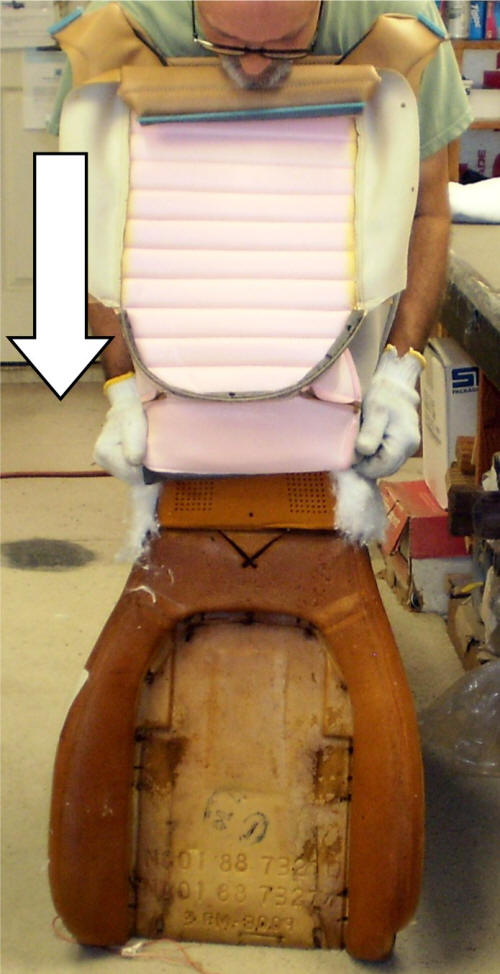
sure you have the Passenger upholstery on the Passenger seat. (and Driver on Driver) The upholstery parts are marked as such. 1. With the headrest of the upholstery RIGHT SIDE out - but everything else INSIDE out - Backrest on the floor - Facing away from you - Propped up with your knee. |
 |
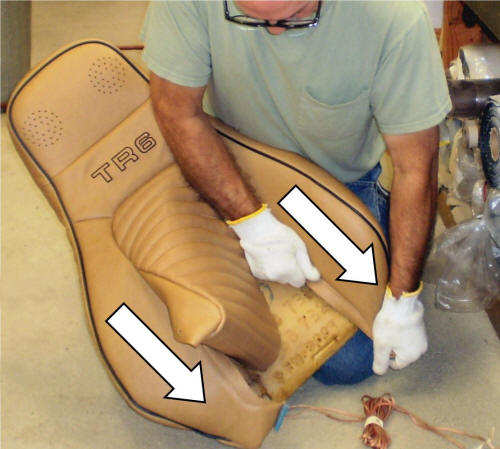
2. Slide the upholstery DOWN over the headrest. |
|
|
3. Grab each side and pull DOWN. |
|
|
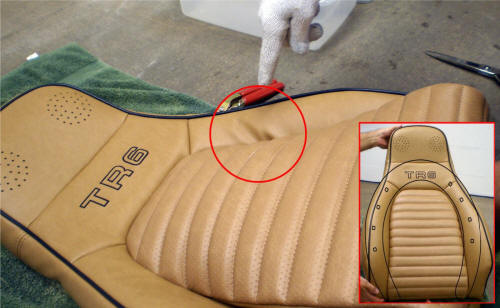
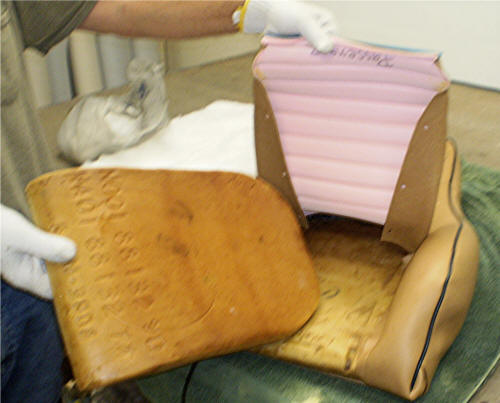
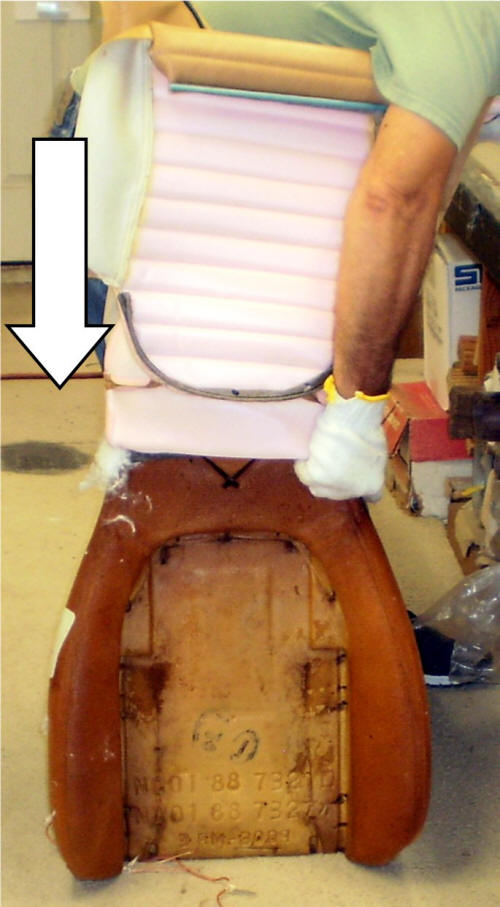
4. Now that the headrest is on: Roll the upholstery further down so you can see the headrest. Inspect the fit of the headrest: Is the upholstery centered? Did the cotton padding smooth out the top, or do you need more? Do you need to pull it down more? When you are satisfied with the fit of the headrest... |

 |
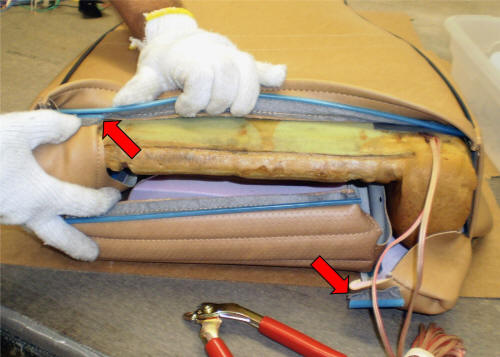
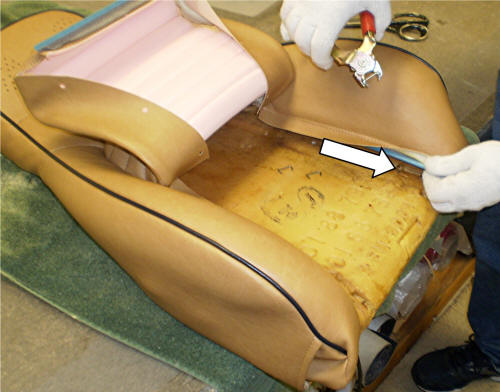
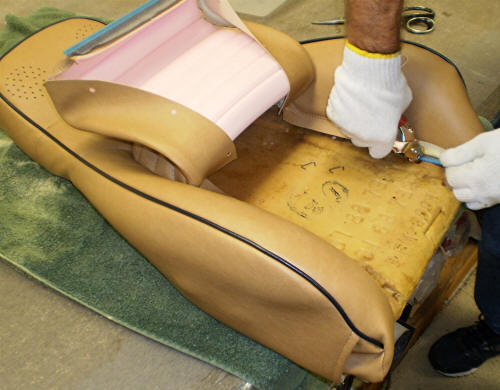
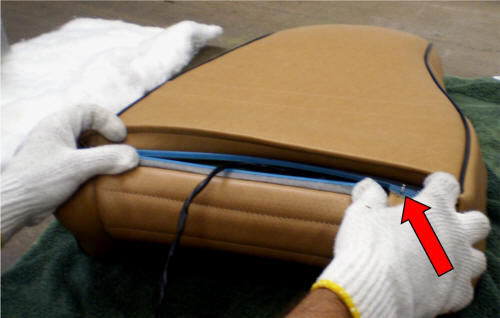
5. Pull the upholstery back UP. Not very far, do not disturb the headrest. Just far enough so that you can see and grab... |
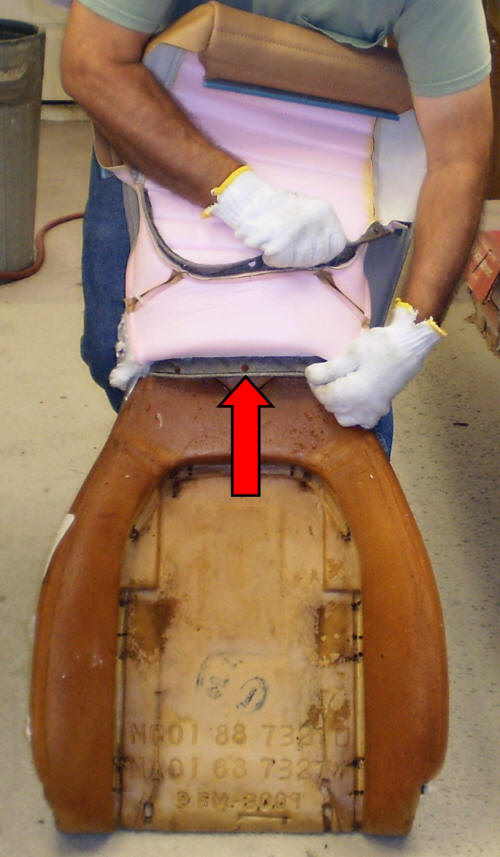 |
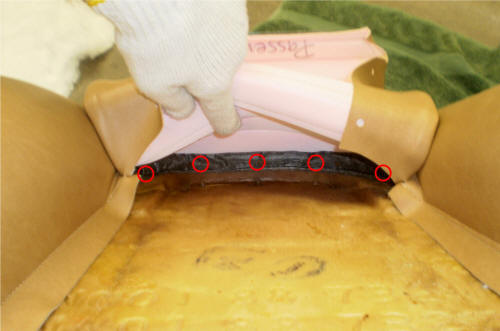
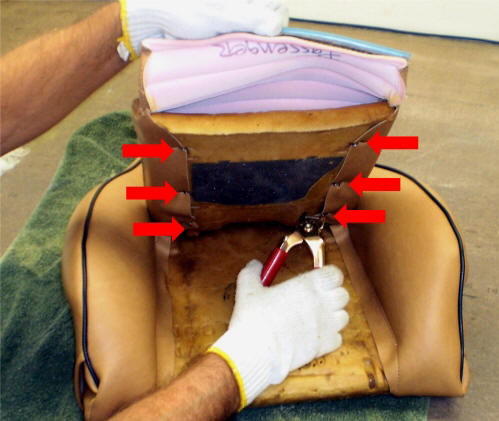
6. The headrest 'Listing Strip'. (red arrow) Now put the seat on a table... |
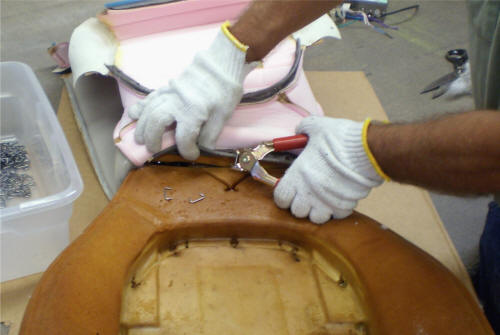 |
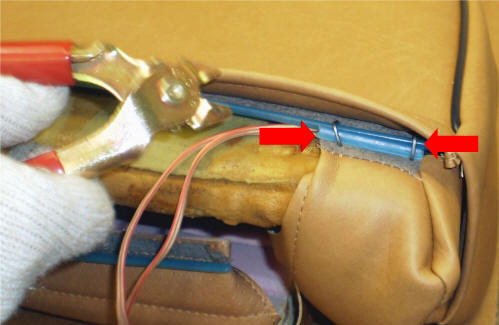
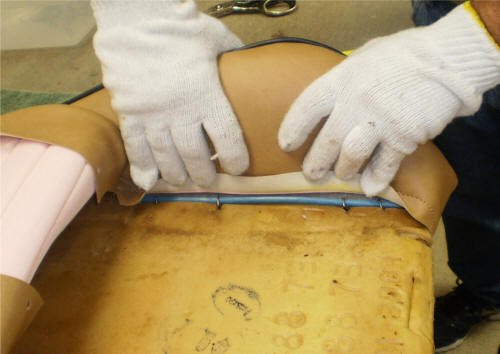
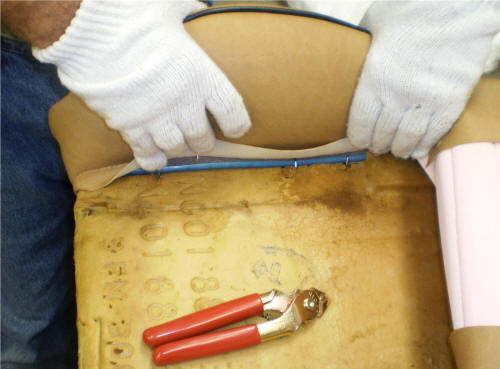
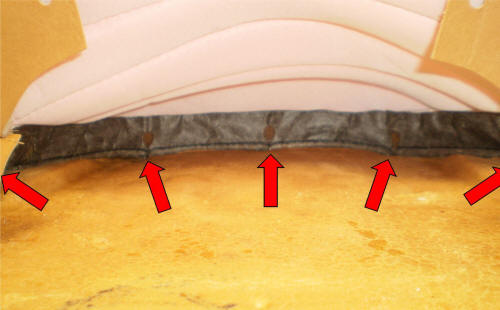
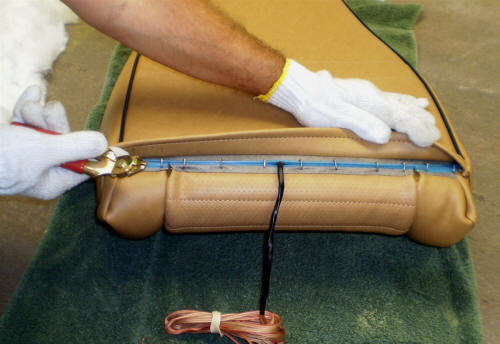
7. Hog-ring the Headrest
Listing Strip into the groove below the headrest speaker plate. There is a Listing Wire buried at the bottom of this groove. |
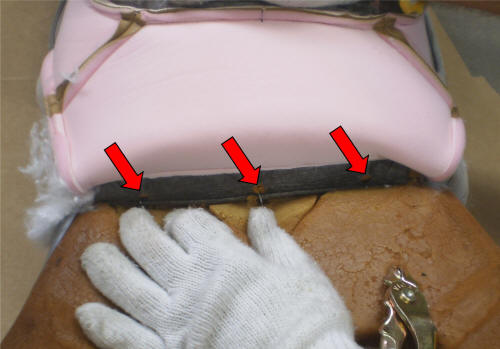 |
8. There are 3 attachment points for this Listing Wire. |