Miata Seat
How to Remove the Old Upholstery

 Back

How to Remove the Bottom Upholstery:
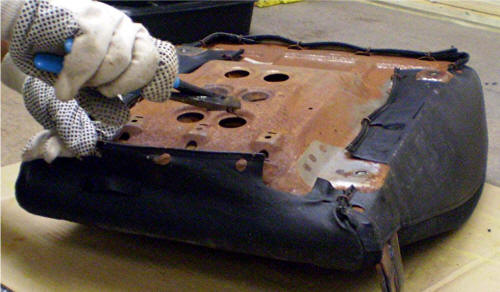
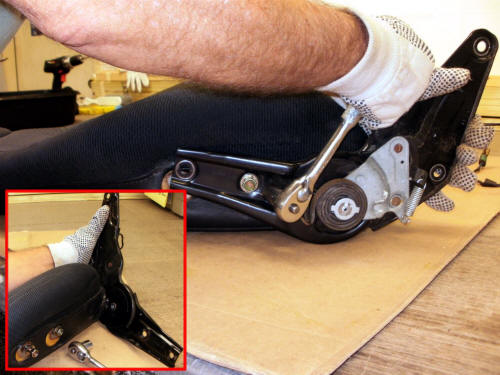
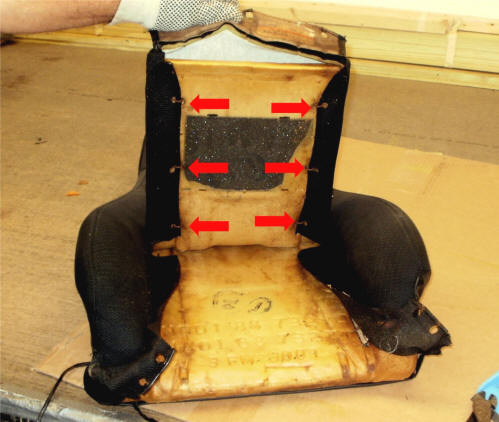
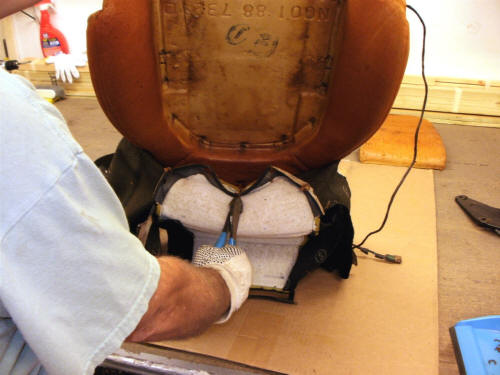
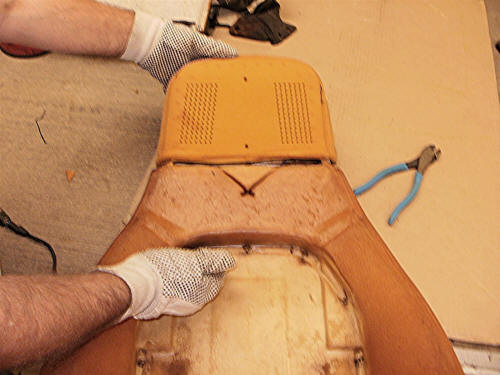
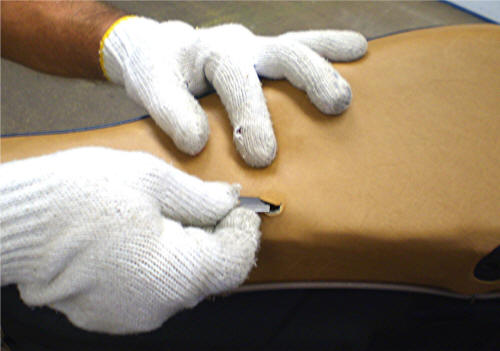
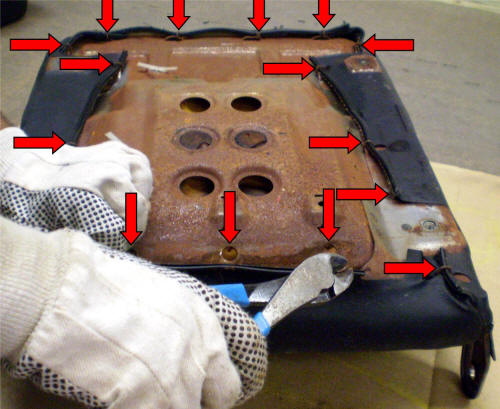
 1. Using a pair of Side-Cutter Pliers...

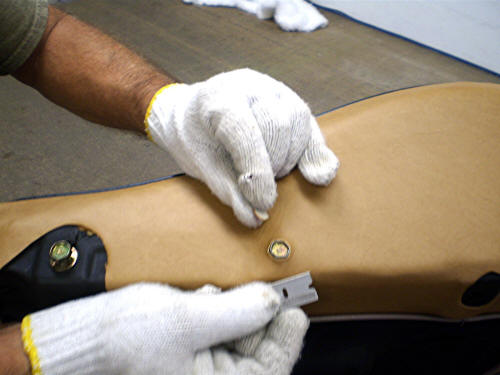
 2. Remove the hog-rings around the underside.

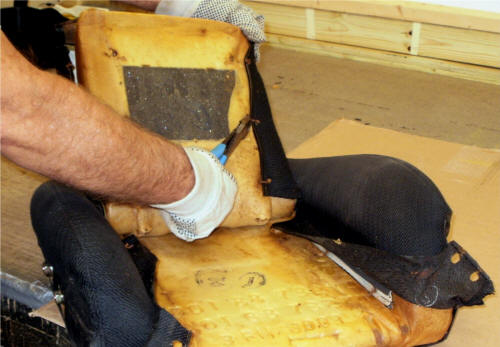
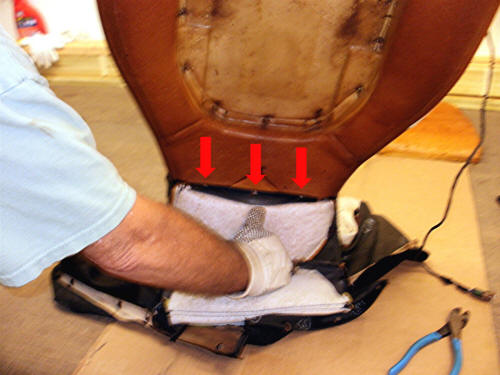
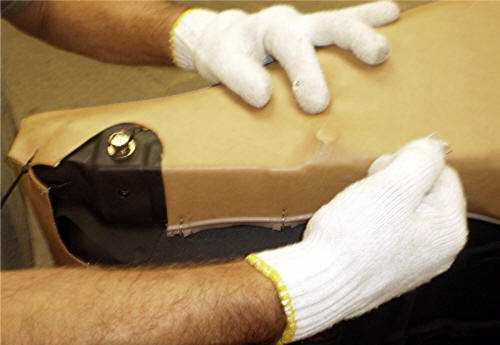
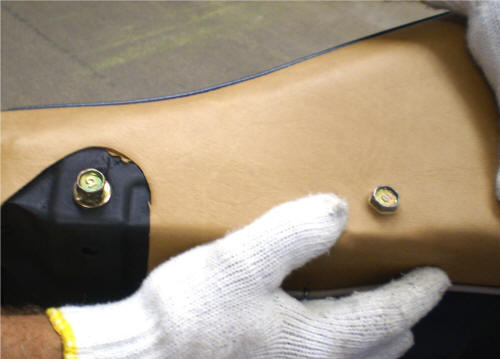
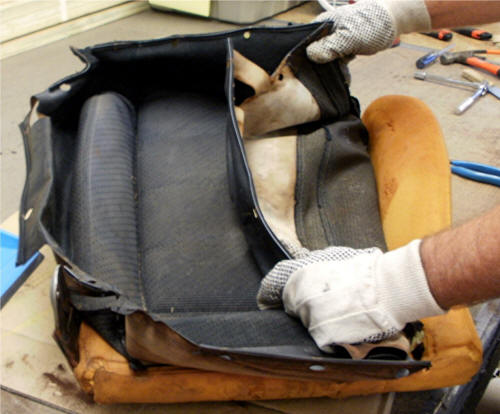
 3. Turn the seat over.
       Lift the old upholstery up & over the sides.
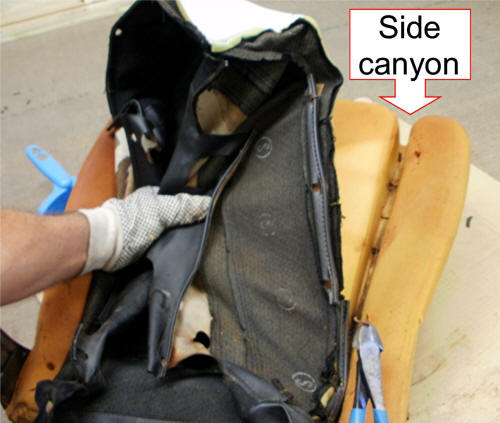
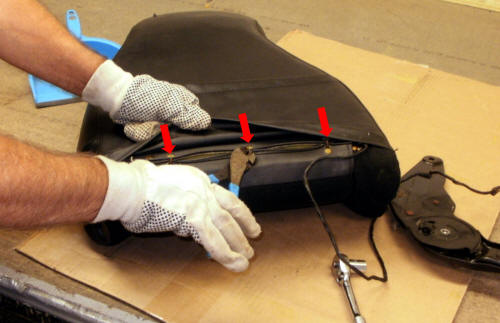
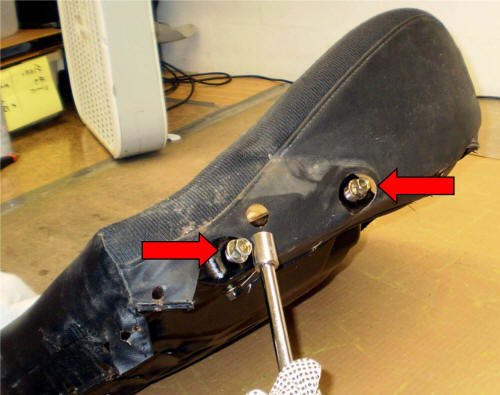
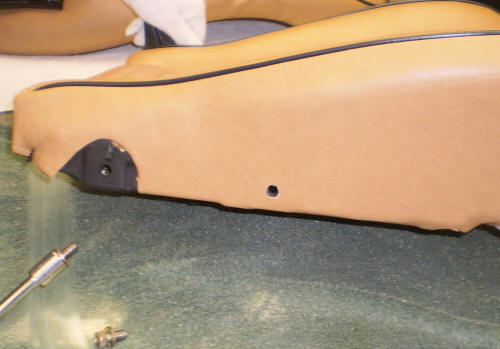
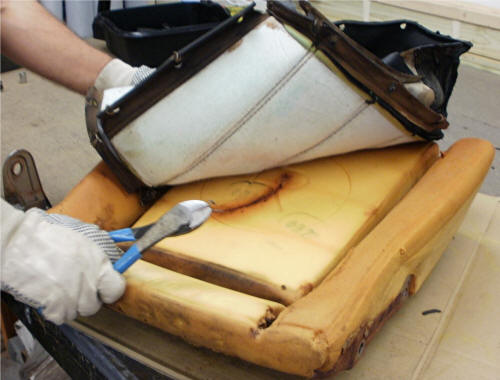
 4. Remove the hog-rings from the Listing Strip in the "side canyon".
       these hog-rings attach the Listing Strip to the Listing Wire buried in the foam.
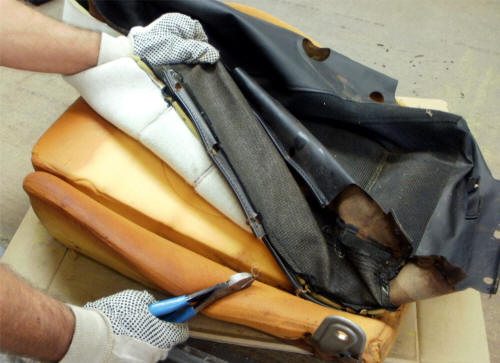
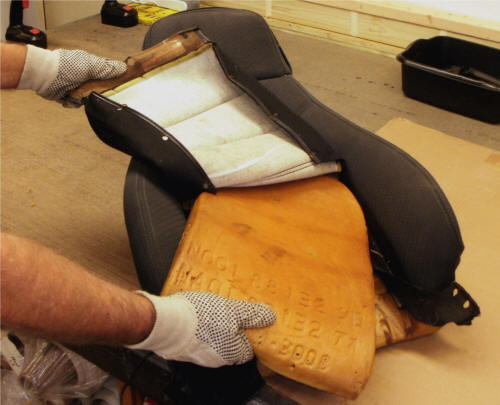
 5. Do the other side.
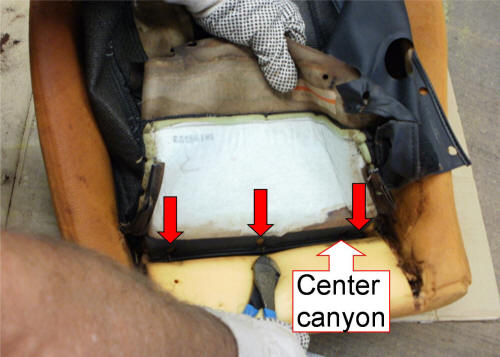
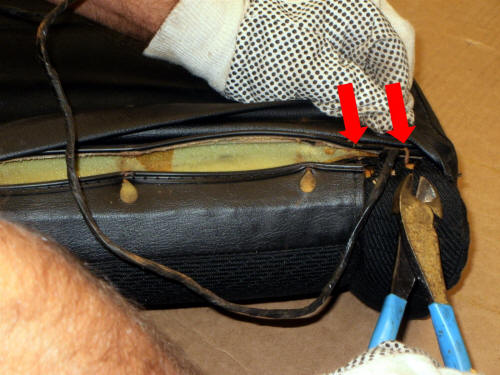
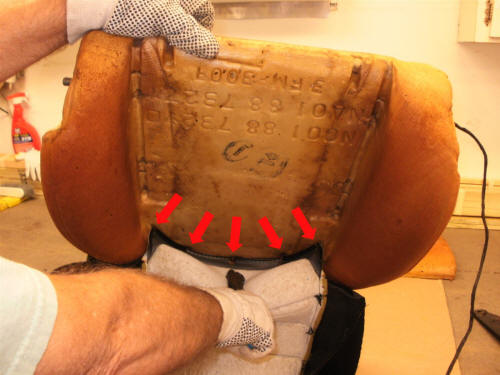
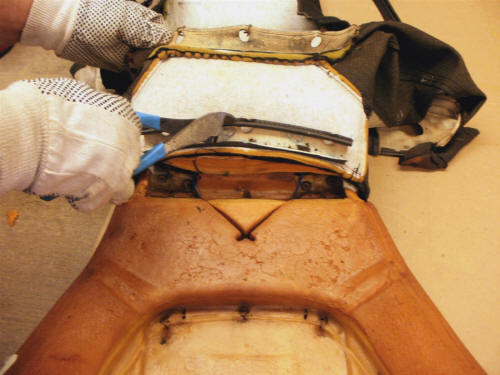
 6. Remove the hog-rings from the bottom of
      the "center canyon".

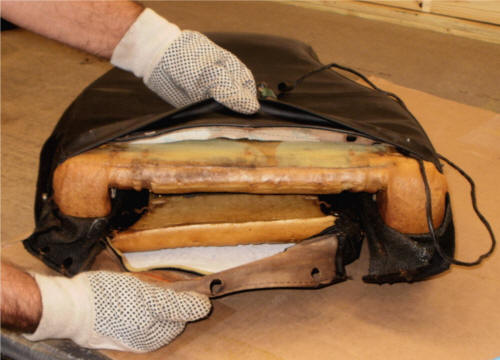
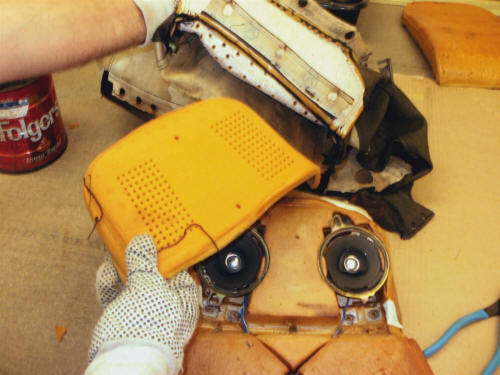
 7. You can now lift the old upholstery off.


    Next: Remove the Backrest Upholstery

How to Remove the Backrest Upholstery:
 8. Un-bolt the recliner.
     
*Put the bolts back in.
        (see below for why)
 9. With the backrest face down:
      On the center section end edge there are 3 hog-rings.
       Remove the old hog-rings.
 10. On the bolster section end edges there are 2 hog-rings.
         Remove the old hog-rings.
 11. The bottom of the old upholstery is now free.
 12. With the backrest face up:
         Lift the center section, there are 6 old hog-rings.
 13.Remove the old hog-rings.

       *As these clip only to foam it is best to cut (not twist)
          the old hog-rings to remove them.

 14. Pull out the center section foam pad.

      
*Don't Lose It. You need to reuse this foam pad.
 15. Lift the bolster flaps.
        Underneath will be Listing Strips hog-ringed to Listing Wires.
          Remove the old hog-rings.
 16. Pull the upholstery up.
        At the top of the "horse-shoe" are 5 hog-rings.
         Remove the old hog-rings.

 17. *Tip: Removing the 2 outside hog-rings first
           makes it easier to remove the 3 in the center.

 18. The "horse-shoe" is now free.
 19. Pull the upholstery up.
        There are 3 hog-rings at the base of the headrest.
 20. Remove the old hog-rings.

 21. The backrest upholstery is now free.
         Push it up and off the seat.

 22. Be mindful of the headrest speaker faceplate.
        You need to reuse this part.
 23. Removal of the old backrest upholstery is now done.
 24. Spray thoroughly with disinfecting spray.
        (Lysol is one brand, there are many)

     This will get rid of that "wrecking yard" smell.

     Use your favorite flavor.
     I prefer "Clothesline Sunshine Fresh"
     as Lavender Potpourri or Too Many Roses
     can be overpowering in a closed car. 
Why put the bolts back in:
 1. When disassembling a seat,
       PUT THE BOLTS BACK IN.

       A. You won't lose them.
       B. You will not mix up what bolt goes where.
       C. You will make perfect holes in the new upholstery.
 2. After the new upholstery is installed:
 Press down to find the head of the bolt. 
 3. With a razor blade (included) cut along the edge of the head of the bolt.
 4. Remove the circle of upholstery.

  5. Press down on the upholstery,,,
  and the head of the bolt will pop through.

 6. You now have a perfect size hole in the perfect location.
 7. Do the same for bolts in all the seat parts.
 8. Perfect size holes in the perfect locations... 
      makes it easy to find the holes after new upholstery is installed.
   9. It is easy to bolt the seat together.


 Back


(c)  mrmikes.com