|
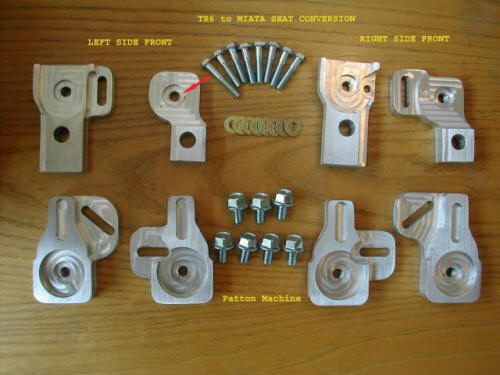 |
The kit comes with eight brackets and all the necessary hardware to mount them to stock TR6 blind nuts. If you've drilled out and re-tapped to a different size you will have to source the correct sized bolts locally. |
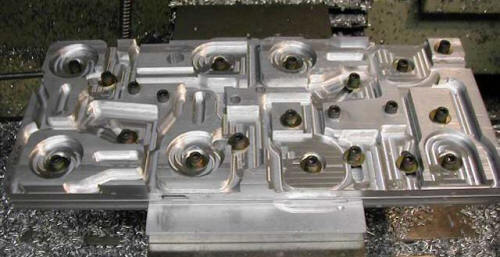 |
The eight brackets are cut from one block of 6061-T6 billet aluminum |
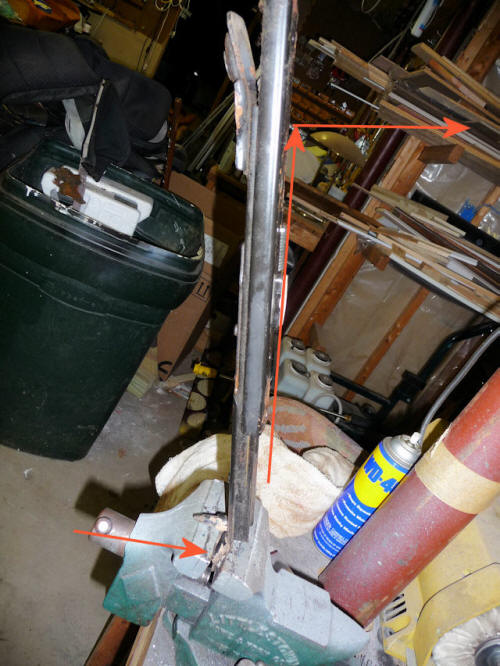 |
The stock Miata rails need to be straightened which is easily done in a vice. |
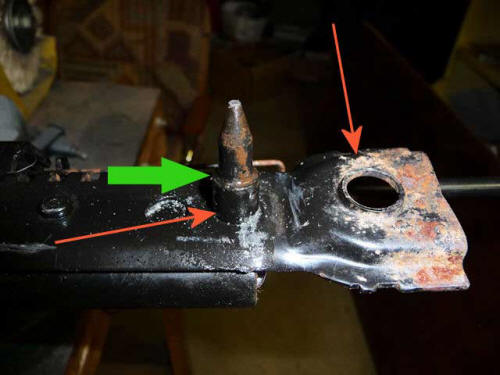 |
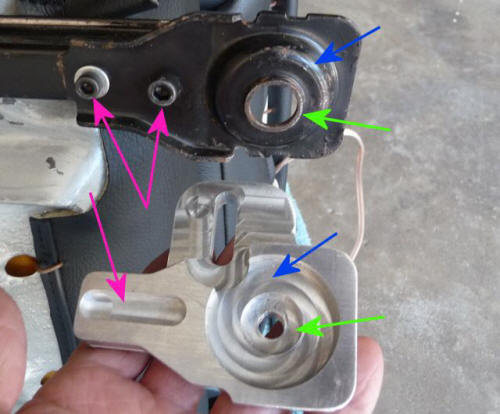
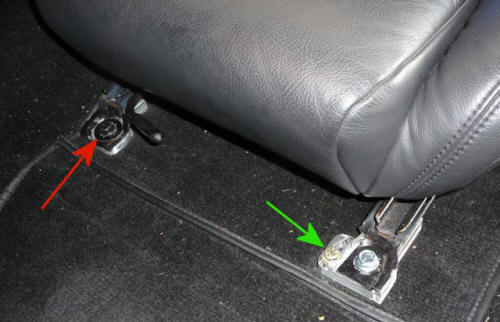
This mounting piece (red arrow) needs to stay and that pin has to be removed at the step indicated by the green arrow. |
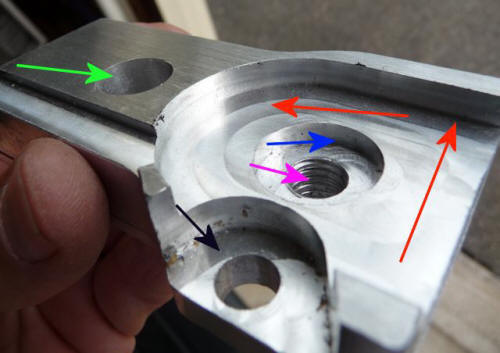 |
Here's one of the front brackets and you can see the detail in the machining to match up with the bracket design. The green arrow points to the hole that the alignment pin in the photo above fits in to. The black arrow is where the hold down bolt goes and the pink arrow is the threaded hole for the flange bolt. |
 |
Here's a rear bracket with the same amount of detail. In this case the hold down bolt goes into the slot to allow for lateral positioning of the seat. |
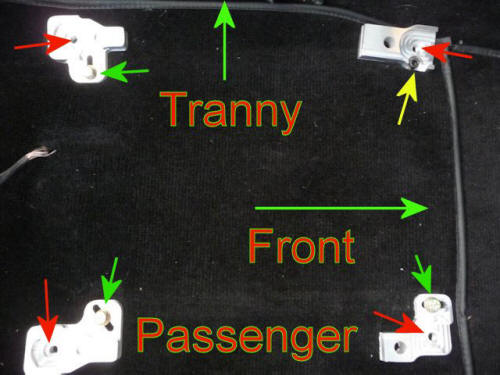 |
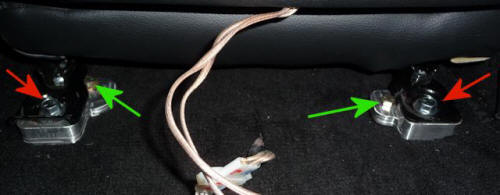
Here's the passenger side loosely bolted in place. Position the seat on the brackets, push it toward the tranny tunnel and all the hold down bolts (green & yellow arrows). The seat uses four flange bolts and go into the threaded holes (red arrows) |
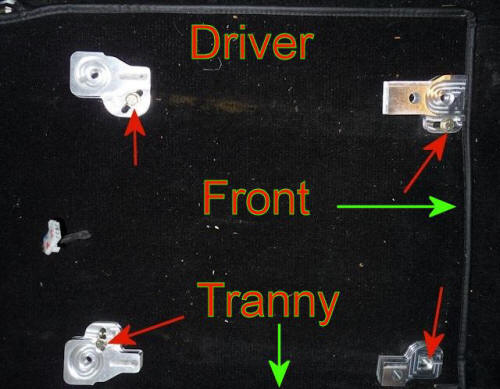 |
It's the same idea for the driver's side with one exception. The right front bracket by the tranny tunnel uses the long hold down bolt provided in the kit. That bolt holds BOTH the seat and the bracket in place. |
 |
Here's a better look at the driver's seat bolted in place...... the red arrow shows the long bolt holding both the seat and bracket in place. The other side has one bolt for the bracket and the flange bolt for the seat. |
 |
And from the rear. |