|
Seat Belt
|
|
|
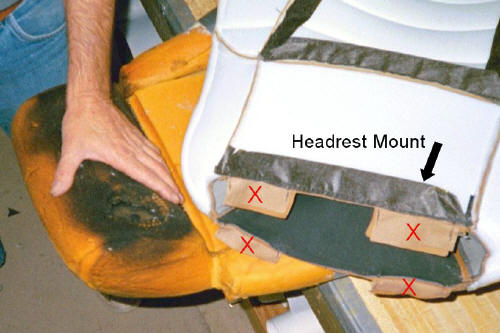
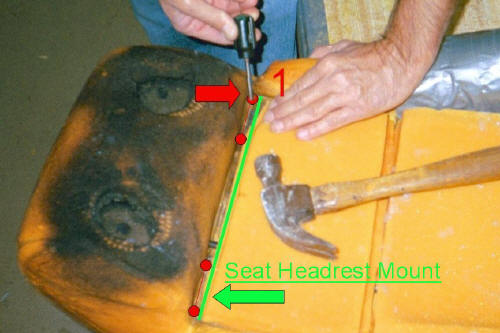
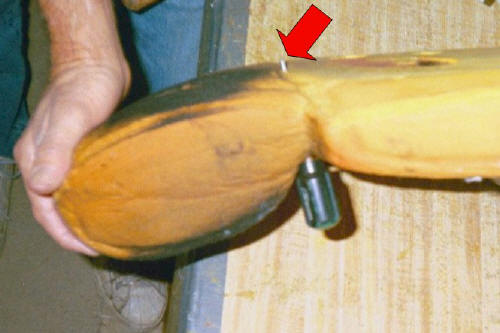
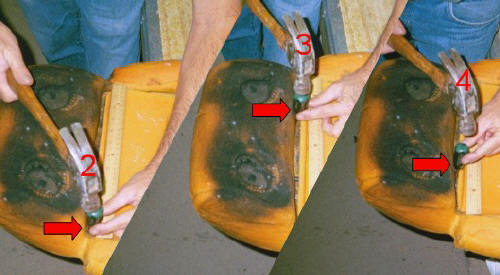
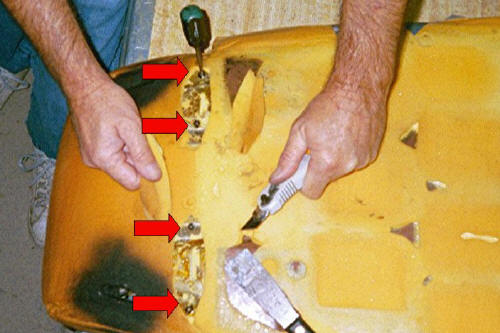
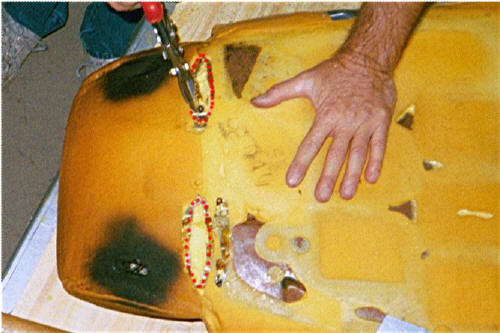
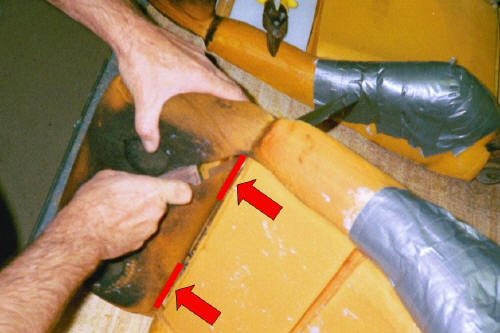
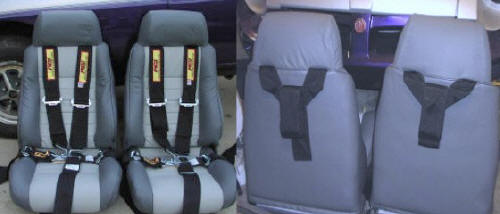
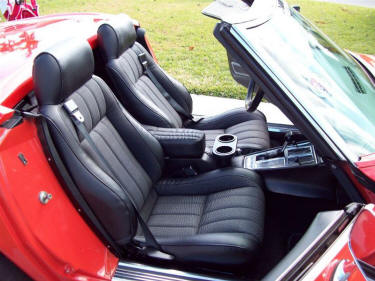
Seat Belt Slots option 4 slots: $40 (does both seats). These 'slots' are sewn in 'tongues' of leather buried into the front and rear seams at the base of the headrest. They allow you to pass a 2-3 inch seat belt through the upholstery. < Shown here: 4 slots (2 under each headrest) for use with a 4-Point racing harness. |
|
|
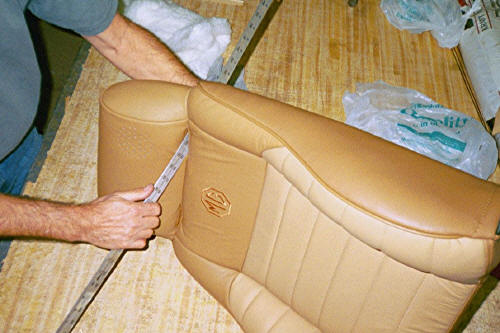
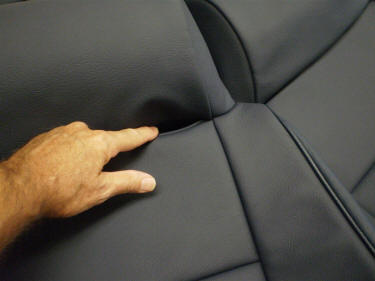
Slots are buried in the seams. |
|
|
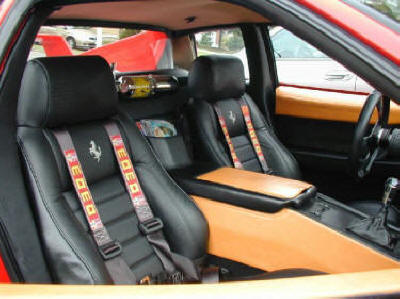
Seat Belt Slots option 2 slots: $20 (does both seats). < Shown here: 2 slots (only 1 under each headrest) Outboard slot only, such as for the Corvette. Same as the 4-point racing harness slots, just half of them. |
|
|
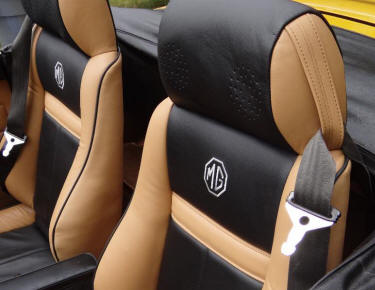
Shoulder Belt Straps option 2 straps: $20 (does both seats). Straps are attached the outboard sides of the headrest. This is an alternative to running the shoulder belt through the seat. < Shown here: Shoulder belt straps in MG. |