|
The "Luna Dash" |
These are the dash pictures. The pictures show the history of the creation of the dash from top to bottom.
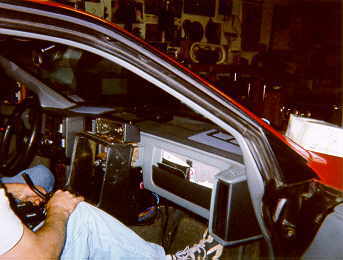
This is the dash before it was taken out of the car.
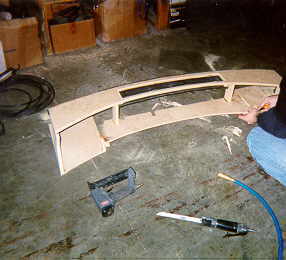
For the first time, the new dash has form. This is the dash in frame form. The black strip on the top is actually the defrost vent from the factory fiero dash.
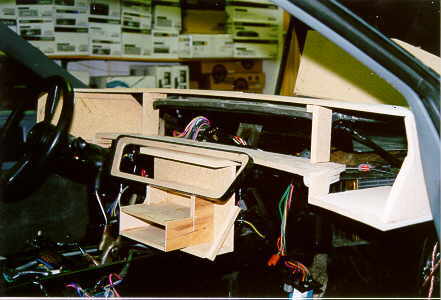
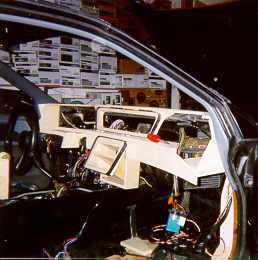
This is the dash frame mounted in the car with a base underneath to hold it up. The piece between the base and the dash is the gauge cluster that will hold the Dakota Digital instrument panel.
It was decided later to move the gauge cluster further up for better viewing keeping your eyes more parallel with the road. Also note on the left is the template for the Midrange Tweeter Midrange design or D'Appolito Configuration.
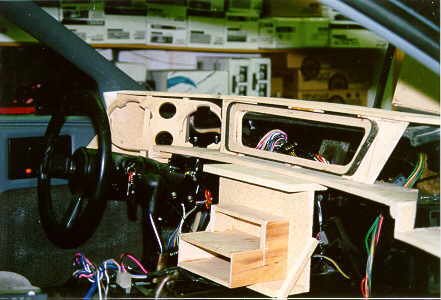
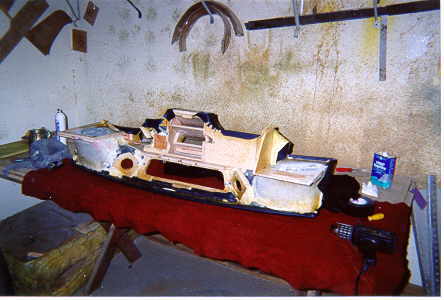
Note templates on each side of the dash. Base still does not have shape to it. Speaker placement is being decided in this picture.
In this photo, note the base now has form. It is angled up at a steeper degree to help viewing. Speaker placement has been drawn in on the frame.
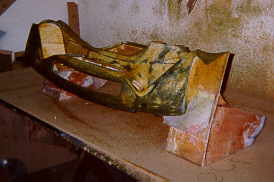
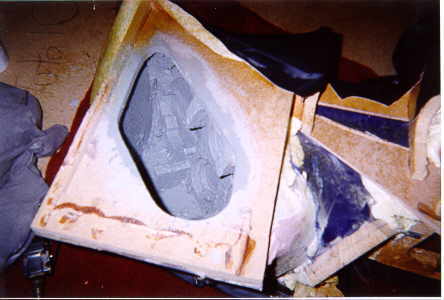
This is the dash laying on it's back. Fiberglass has been applied to the dash to give it form. Also note that the speaker template on the left is now permanent. The dash is now ready to have vinyl applied.
Vinyl has now been applied to the front of the dash. Foam filler has been applied to cavities to strengthen, and quiet the dash and to prevent rattles and squeaks during driving. Note the fiberglass enclosures for the speakers.
This is a picture from the bottom of the dash looking in. The inside of the enclosure has been sprayed with deading material to prevent any resonances being heard from within the enclosure. A plexiglass cover will be placed over the opening and sealed from the inside. A red neon tube is placed inside allowing viewing into the enclosure. On the back wall of the enclosure Acoustical Pyramids were used to prevent any standing sound waves.
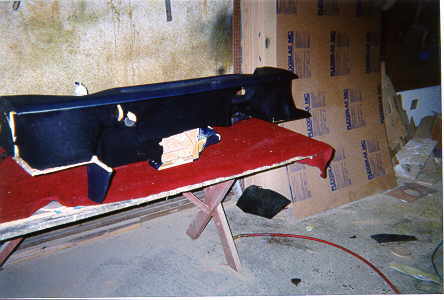
This is a picture of the back of the dash after the covering has been applied.
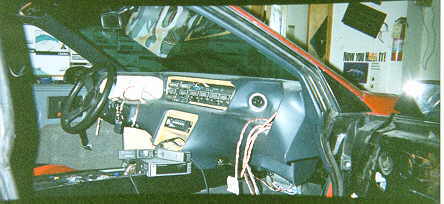
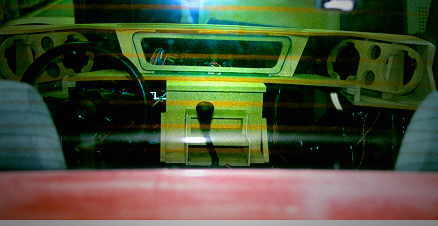
This is a picture of the dash remounted back in the car and the wiring applied to the speaker enclosures. The wiring is twisted so many twist per inch depending on the speaker that it is being applied to for identification. This is discussed more in the wiring section. The dakota digital electronics panel has been installed and the air-conditioning controls are now mounted. Also note the single air vent in circle form. There is an identical vent on the opposite side.
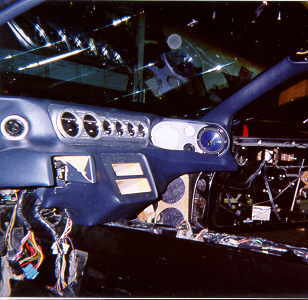
The T6 aluminum panels have now been applied to the speakers, behind the gauges, and in the radio/air-conditioning area. By the way, the flash on the camera makes the dash appear to be blue, when in fact the dash vinyl is black. The speakers located at the lower right were a thought in the beginning for mid-bass drivers. After hearing the MTM configuration it was decided that the mid-bass drivers were not needed. The 335PX combo produces more than enough mid-bass.
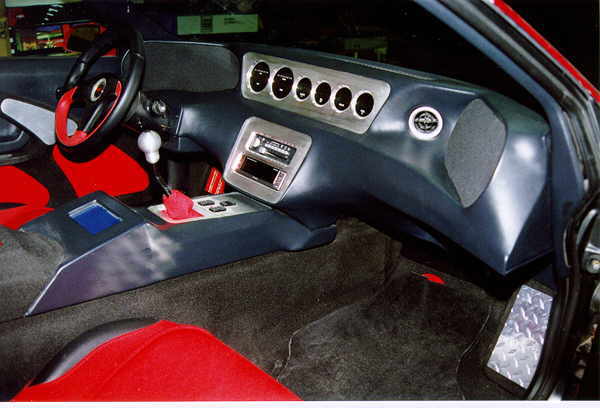
This is a view of the dash from the passenger side. Wiring is completed for the front speakers at this point. The layout of the dash was to be symmetrical in design and I believe we have accomplished this. You be the judge.