|
MrMikes Leather Console Saddle |
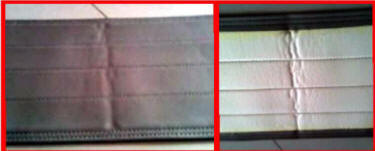
| *The
console saddle is shipped either flat or arched, DO NOT FOLD or the foam used will crease, as shown here. |
 |
| To Remove the armrest /
console unit: 1. Remove ashtrays, remove the 4 screws located underneath. Lift shifter housing up and forward, no need to remove it completely. 2. Now you will see 2 screws holding down the front of the console, remove them. 3. Open the console door, you will see 2 screws holding the rear of the console to the firewall, remove them. 4. Lift the console up and off the tunnel, disconnect the cig lighter plug, remove console. |
|
 |
|
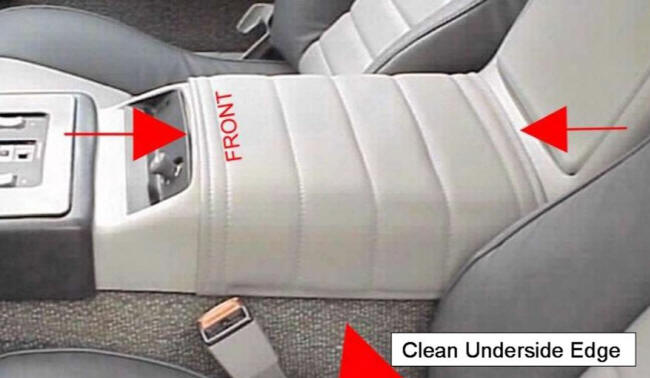
| To Install the Leather
Saddle: 1. Turn the console upside-down, clean the inside edges up at least 2 inches, so the Velcro will stick properly. Place the console right-side up and on a flat surface. 2. Note that the backside of the saddle is labeled "Front", this edge goes toward the dash. 3. Center the saddle: > Front to Rear, between the front lip of the console and the rise at the rear. > Side to Side, so there is an equal 2 inch flap on each side. 4. Leaving the two Velcro pieces together, peel the protective tapes from the hook sides to expose the self-stick glue. 5. With equal force give the saddle a "snug - tug" and roll the flaps up under the console sides. Press the self-stick glue Velcro into place. 6. If adjustment is required: lift the Velcro edge of the saddle, be careful not to disturb the self-stick Velcro applied the console itself. |
|
| Re-Install the console by reversing the removal instructions above. |