|
Special thanks to
Richard in Canada for providing the following pictures and comments: |
|
 |
Here is a shot of the rear seat
bottom. YUCK!!! |
 |
Here I go. Bye-Bye bad fabric seats. |
 |
This shot is of the exposed rear seat bottom. |
 |
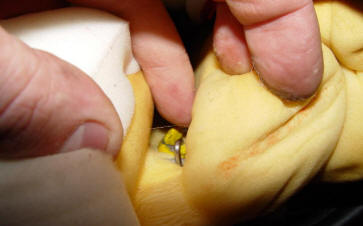
Here is the first hog ring of the set
up. After swearing a couple of times I figured out how to hook the upholstery to the seat (learning curve). |
 |
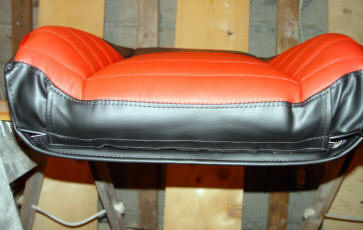
So, after a few more rings, here is
the finished seat. YAY !!! I can do this...... |
 |
Hello naked rear seat back. You look cold. Can I offer you a nice new leather outfit? |
 |
And just to make your attire more
attractive, may I offer you some shoulder support? MrMike suggests placing cotton in areas of the seat that have been squished down over time. He supplies a pack of cotton, so heed the advice and pad where necessary. |
 |
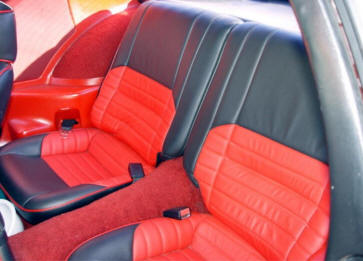
There we are. All nice and new. Total elapsed time from inserting the video into the VCR to published on the web - 4 hours. Not bad for a klutz! This was easy, fun, and the results are great! |
| Now for the front seats: | |
 |
Here is the passenger seat with the tracks removed. |
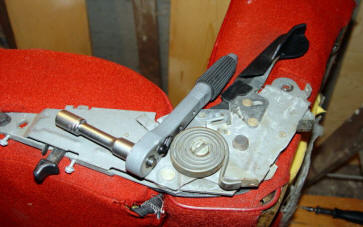 |
Next remove the recliner mechanism. MrMike recommends replacing the bolts back into the holes, as it is easier to find the bolt holes this way. Simply cut around the bolt head with the included razor blade after the new leather is on. |
 |
Recliner removed and bolts re-installed. |
 |
Using the supplied head rest removal
tool (aka slim jim) you need to remove the headrest. |
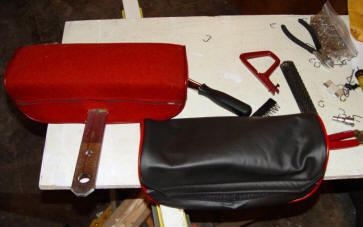 |
Just for grins, I thought I would do
the headrest first. It looked the easiest. |
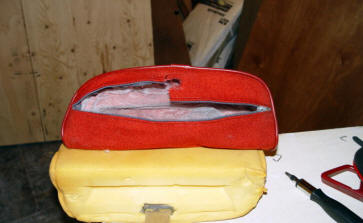 |
You will have to cut the zipper of
your old headrest prior to removing the fabric. You cannot remove it
otherwise. It makes me wonder how the factory got it on in the first place! :) |
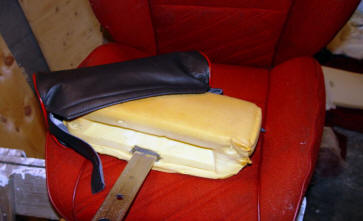 |
You should re-install the screws for
the seatbelt loop - for the same reason as the recliner bolts. The headrest cover just slides on. As for the attachment method, can we say HELLO VELCRO? :) |
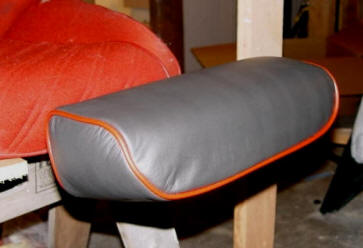 |
Here is the installed headrest. Total time - 10 minutes. |
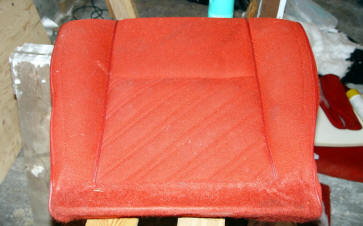 |
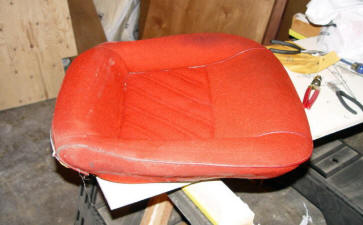
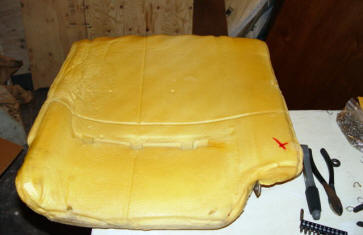
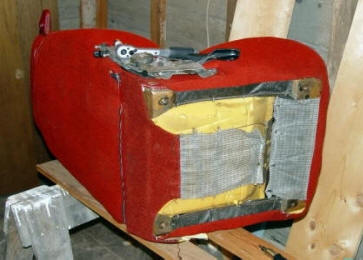
Here is the bottom of the front seat. Old, worn, and dirty! |
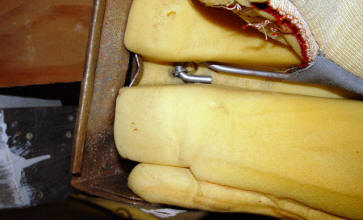 |
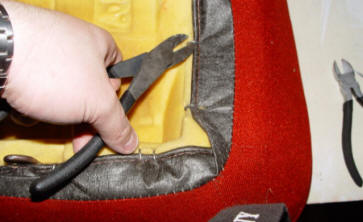
The bottom seat cover is held on by a hooked rod, attached at the other end by a hog-ring. |
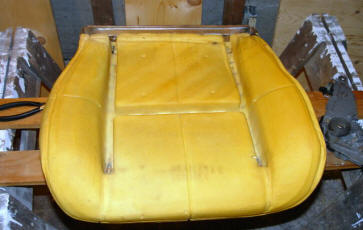 |
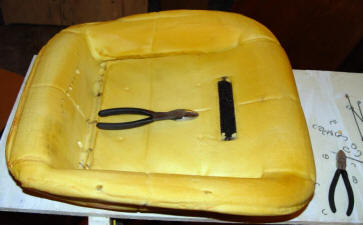
The naked seat bottom. |
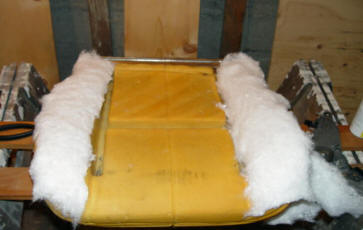 |
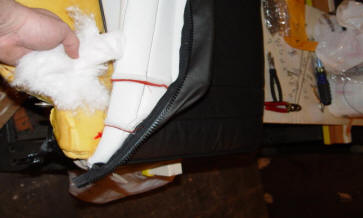
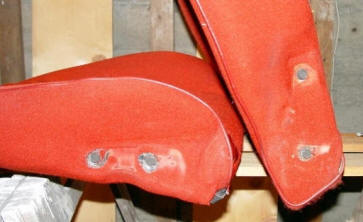
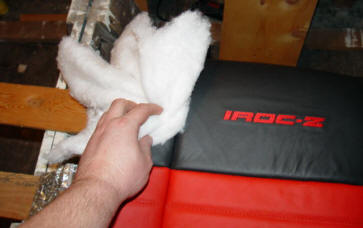
To assist in the profile and the support of the seat, MrMike recommends adding some cotton. Well, since he sent enough for me to do the seats and maybe make a couple of pillows, I'll listen! Additionally, he recommends applying some cotton to the back corners to prevent the metal from cutting through the new upholstery. |
 |
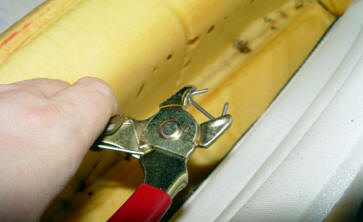
The rods slip into the sleeves as shown. This will give the seat bolsters a sharp profile. |
 |
Here is the finished covered seat. I left out the shots of applying hog ring after hog ring - BORING!!!! Once you buy these seats, you'll know what I mean. |
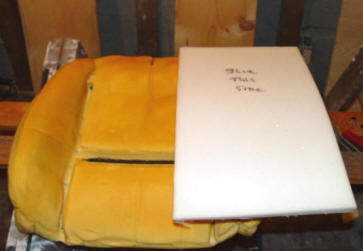 |
MrMike supplies extra foam for the back of the seat. It is clearly marked and easily applied. |
 |
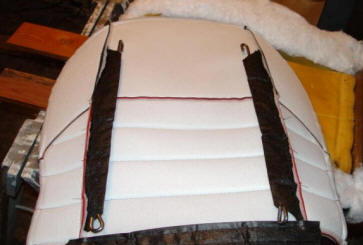
Here is the seat cover loosely placed over the seat. Just like the back seats, MrMike recommends that you add some cotton to the "shoulders" to help the seats look like new. |
 |
Install the factory 'rods' up the middle to give the bolsters their profile. Hog ring the end of the rods to the seat. |
 |
OK, here is the bottom of the seat back. Hog rings and Velcro are the order of the day! |
 |
Here you see the cut out holes for the bolts. Shall we bolt these back together? YES !! |
 |
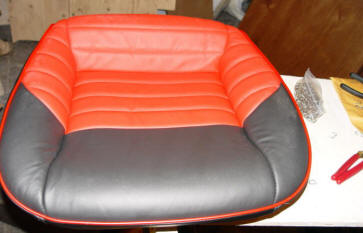
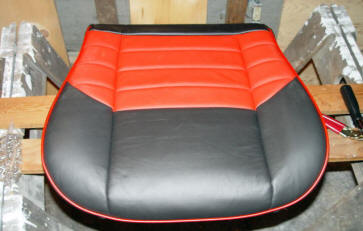
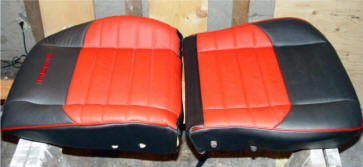
Here is the finished product. WOW! I like it! This took me about 3 hours to do, which is what MrMike predicts for the novice. The second should only take half as long as I can now do auto upholstery :) |
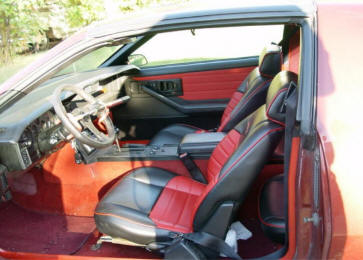 |
Then it's just a matter of bolting on the tracks and putting the seats back in the car. |
 |
The entire rear seat only requires 2 bolts and 4 nuts, very simple. |
 |
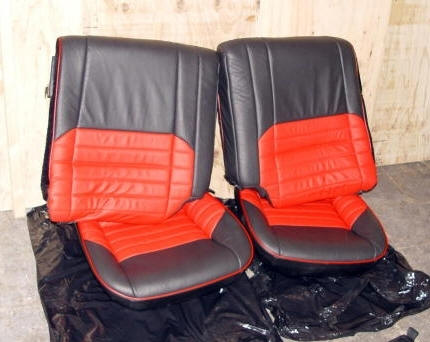
I purchased the matching leather door panels, for the complete 'Look'. |
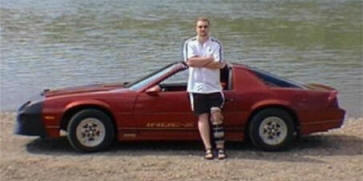 |
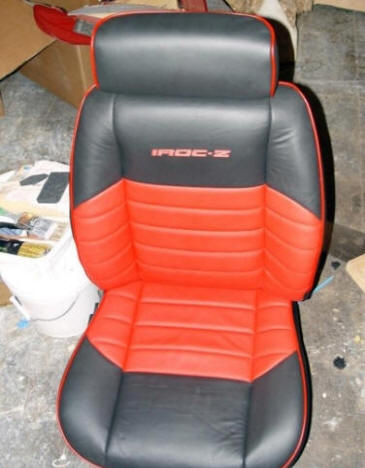
So, here it is! I know that is does not look a lot different
than most 3rd Generation IROC's; however, I like to think of
this car as a great template for me to add a flair of "me" to a
car I lusted for as a high school goof. I know I will have fun playing with a car that is the "Official Car of Rock and Roll". |
Special thanks to Richard in
Canada for providing the pictures and comments.